|

|
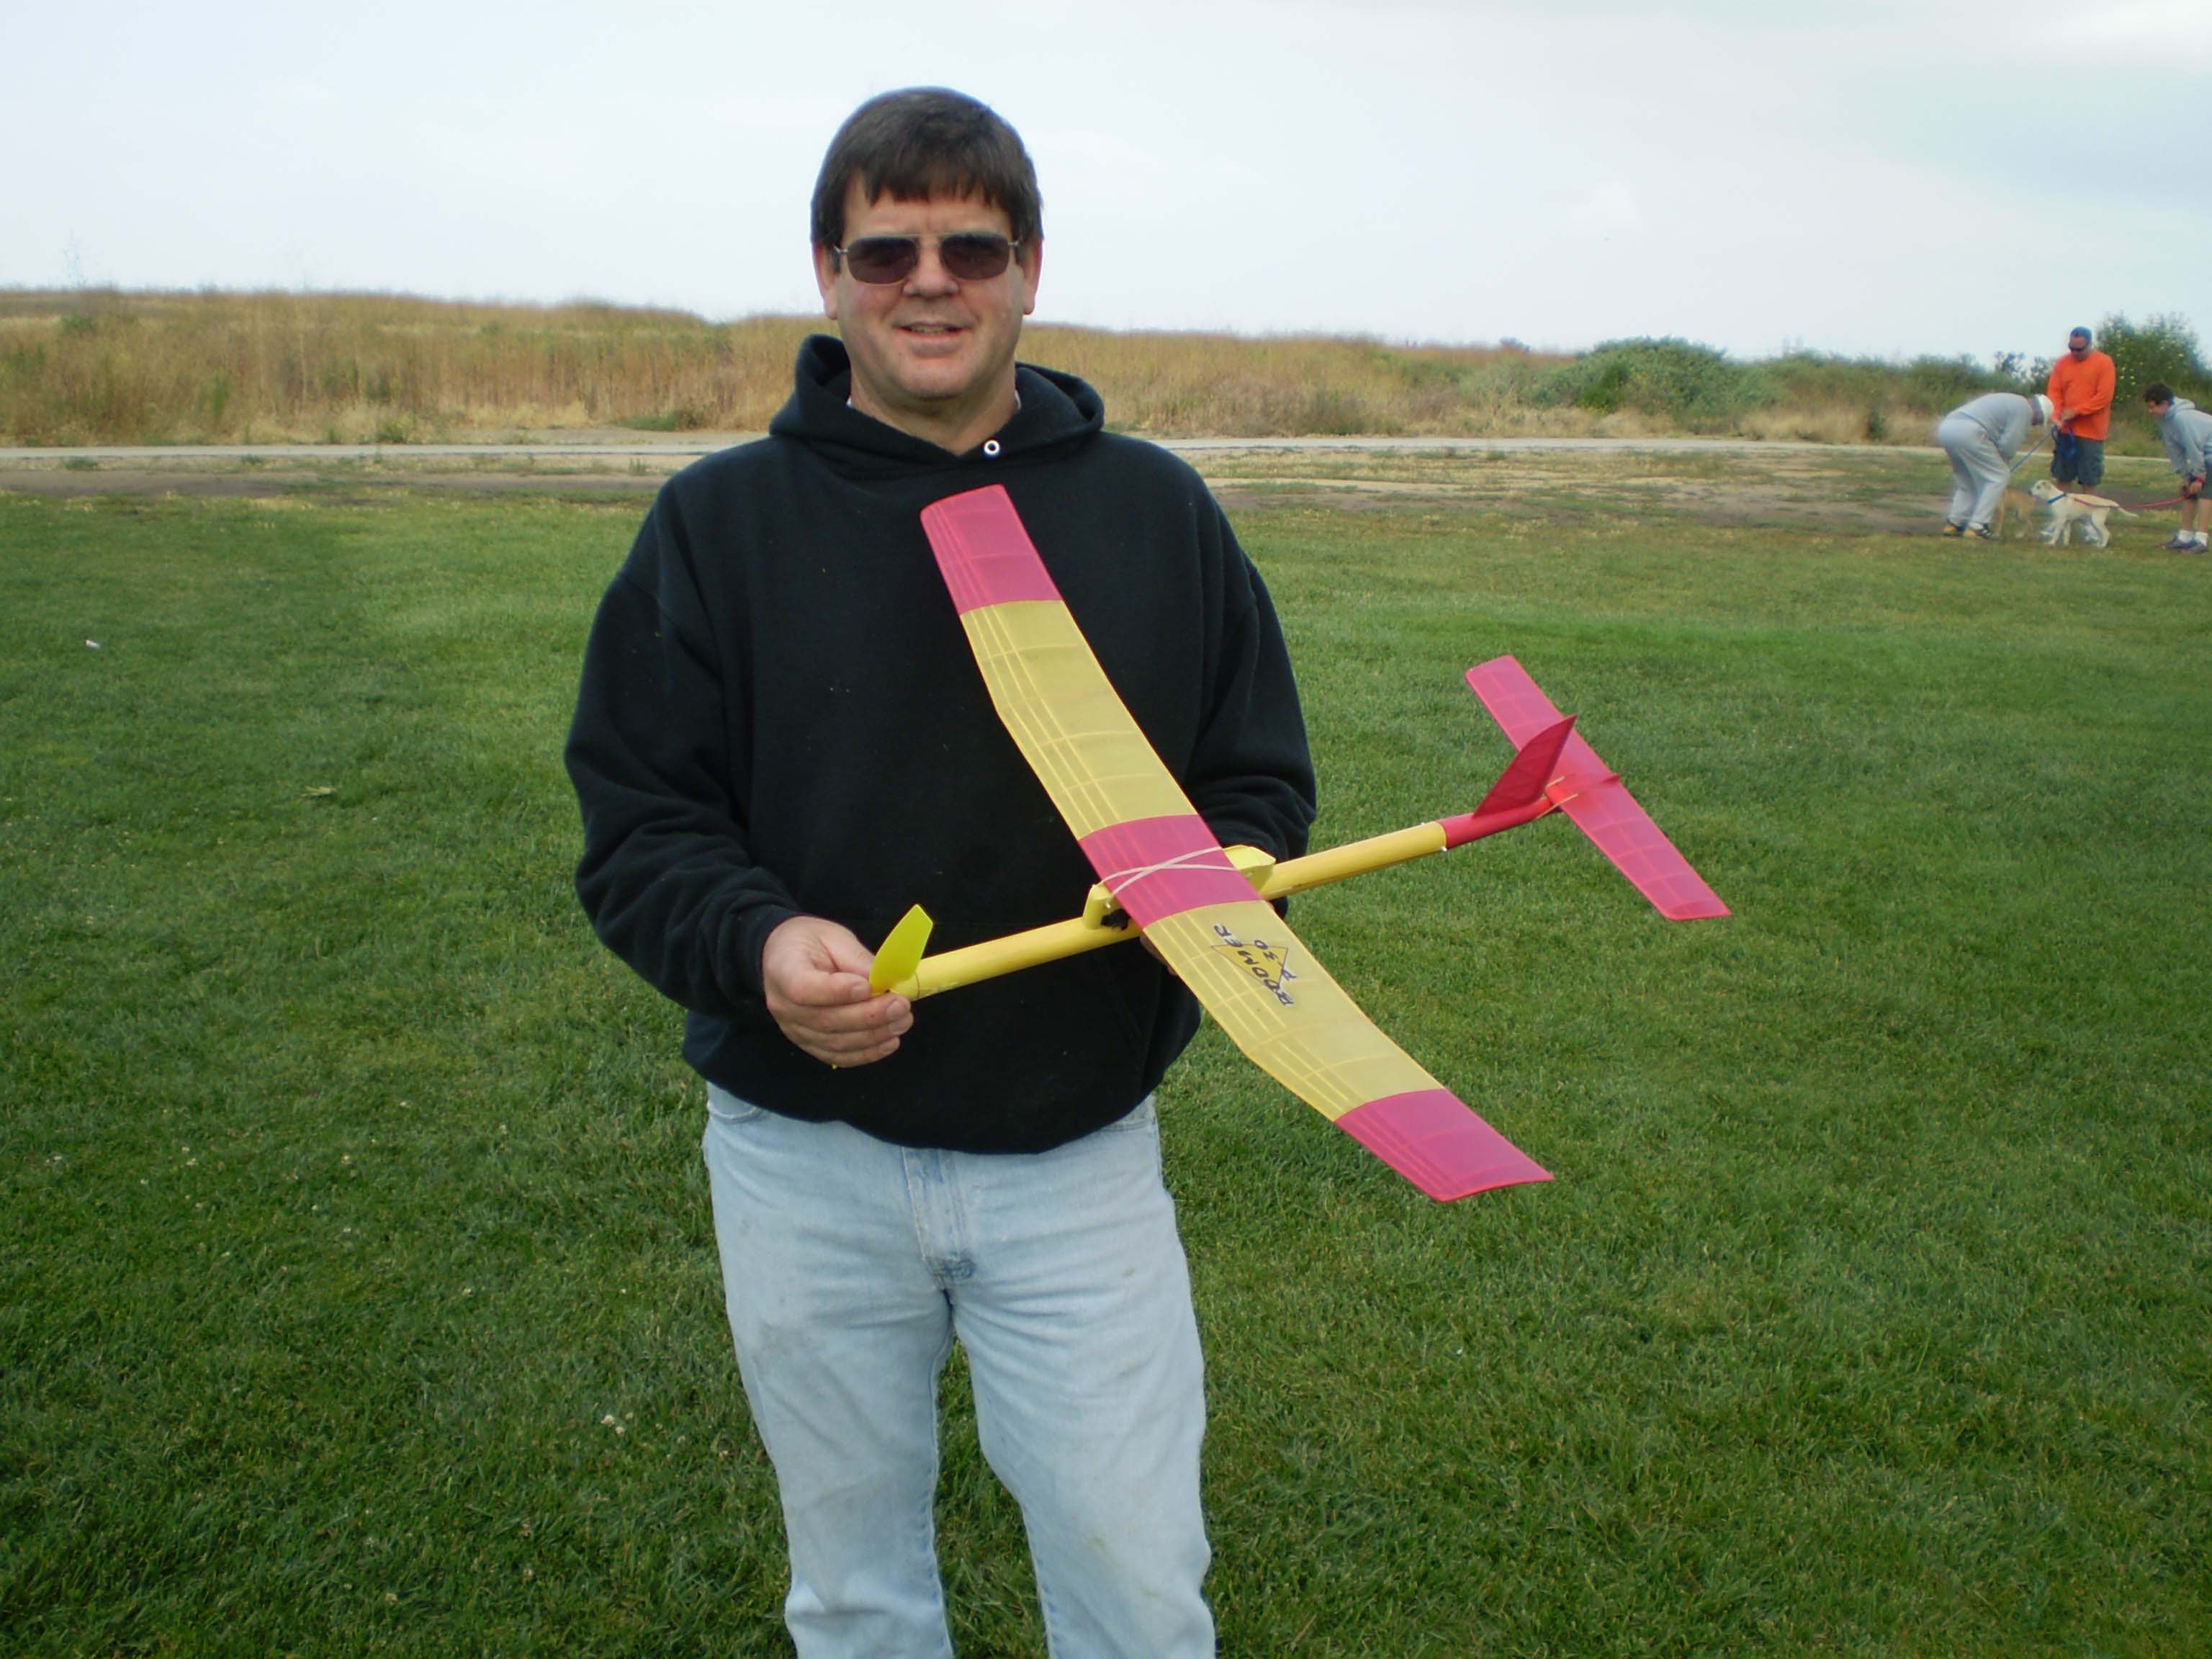
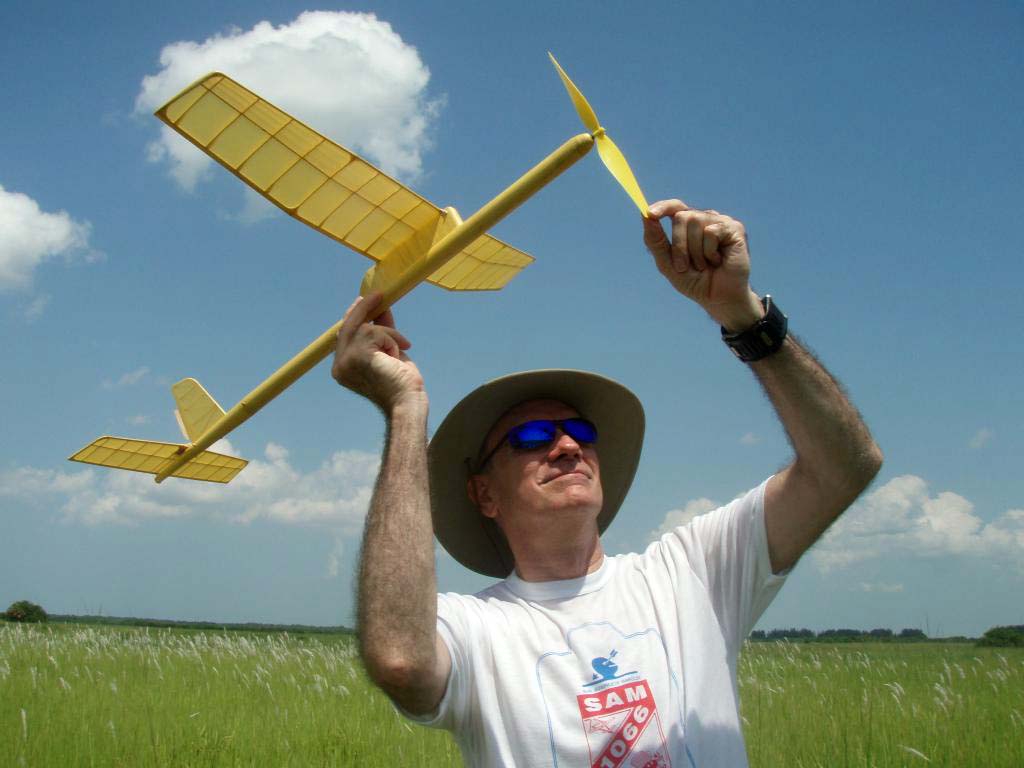
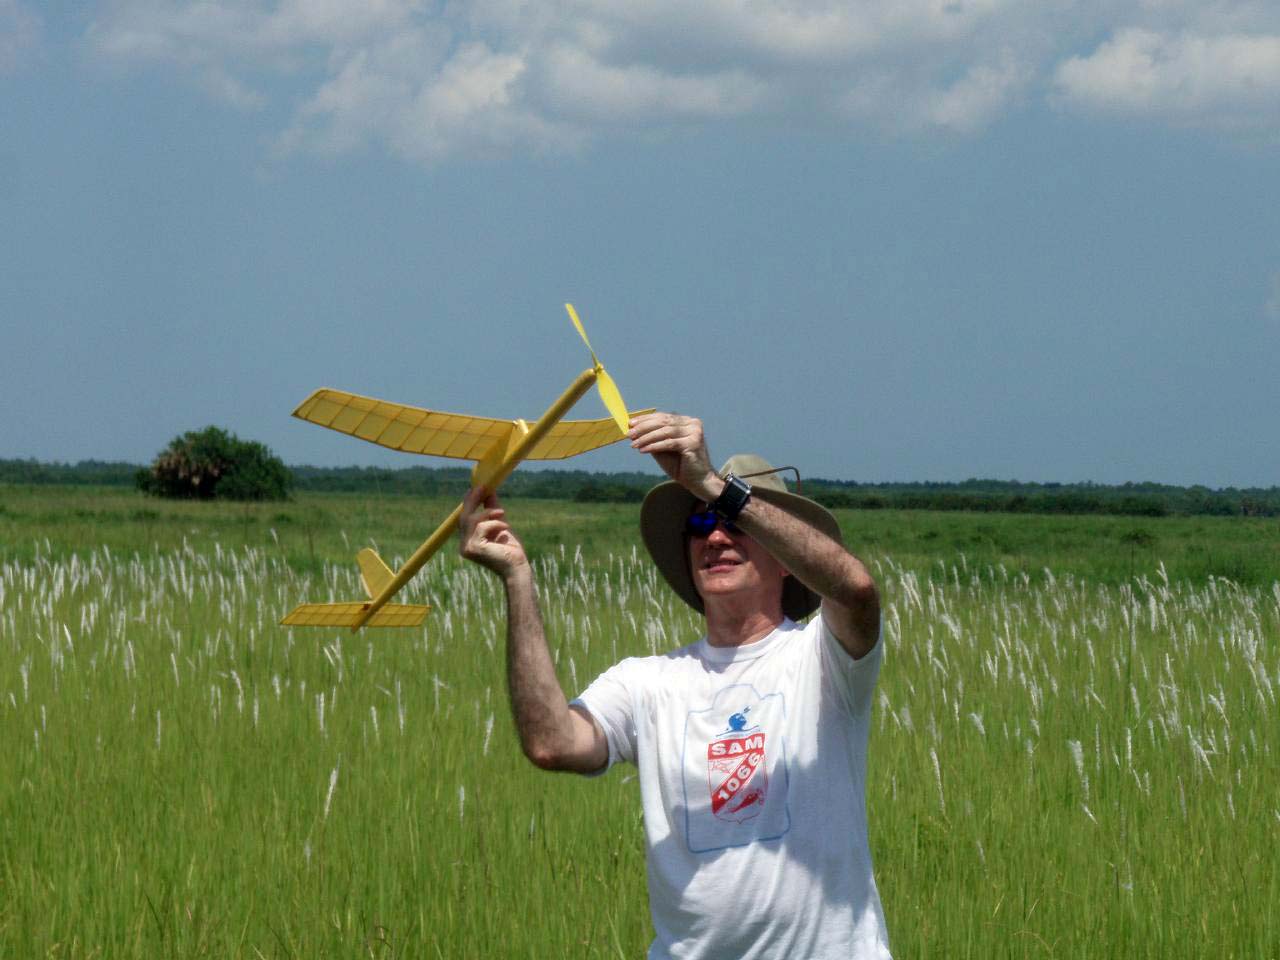
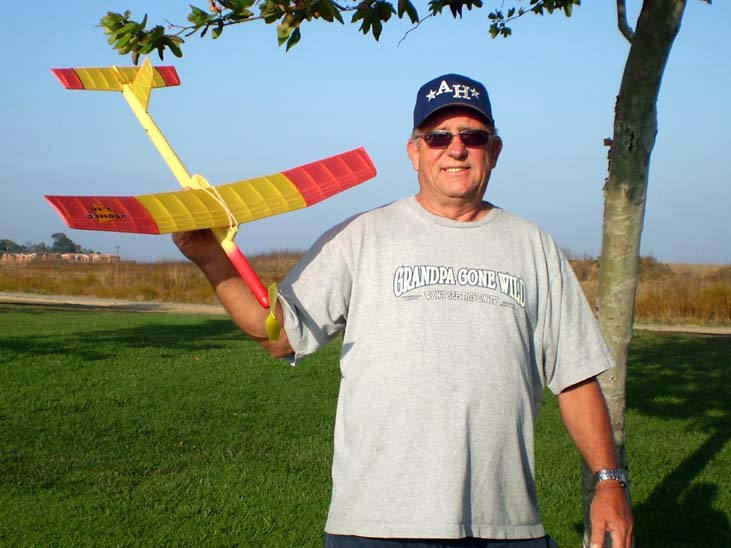
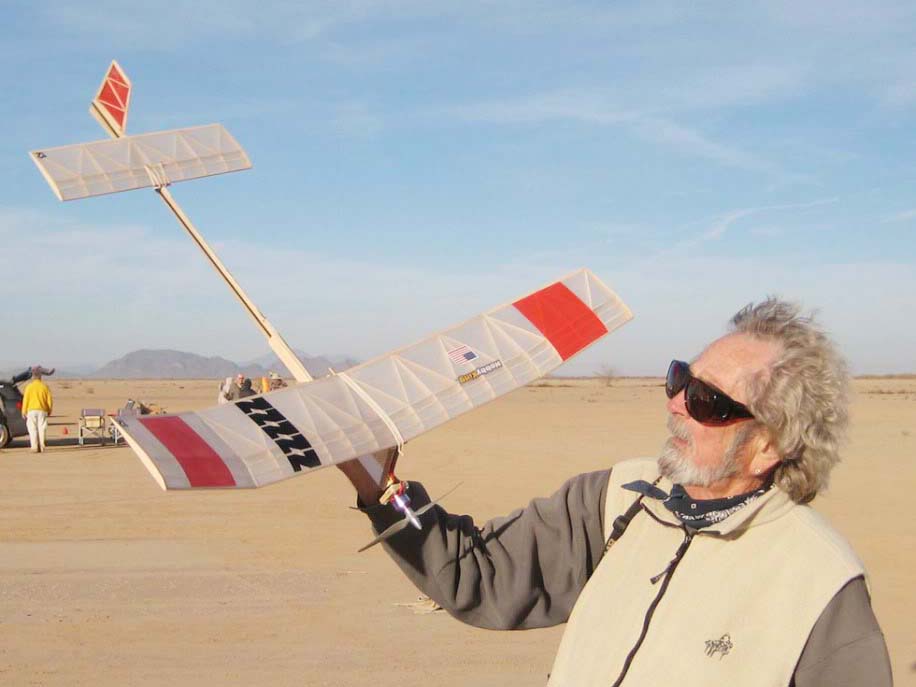
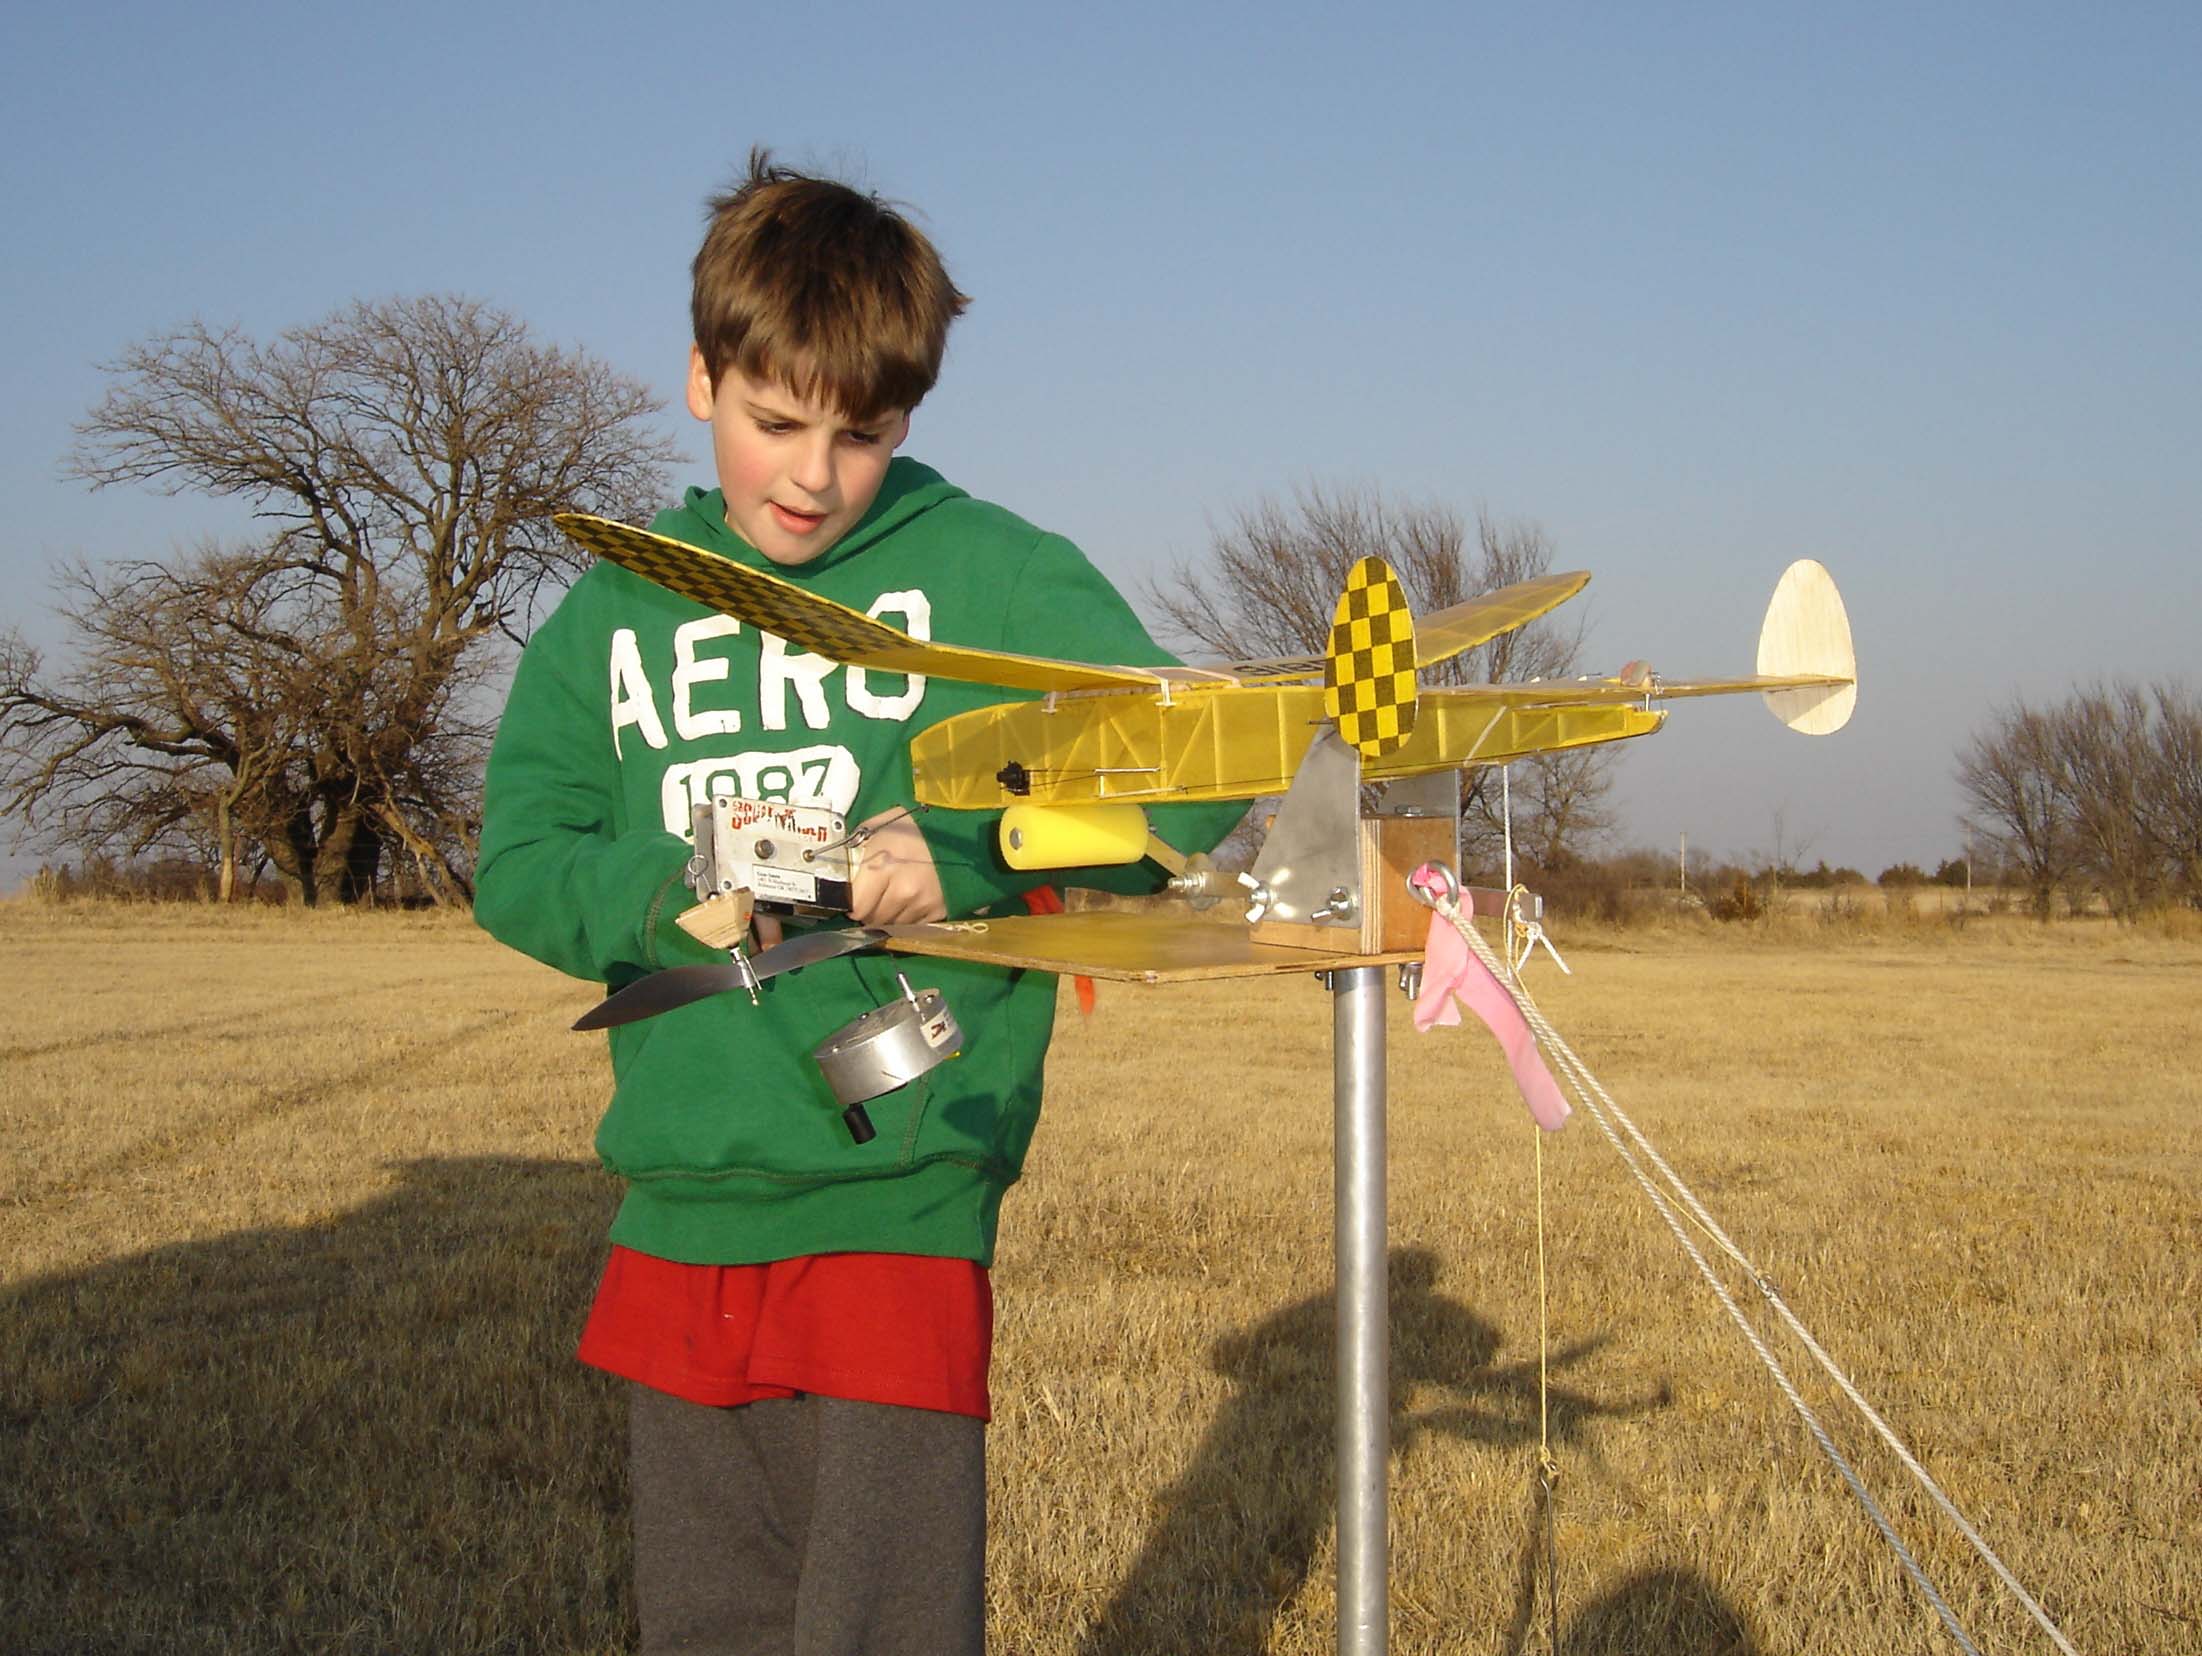
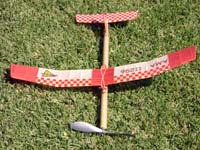
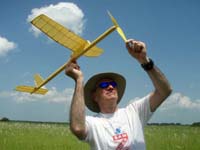
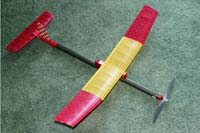
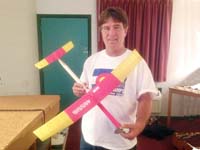
This is a picture of Clint Brooks with his BOOMER
P-30
|
|

|
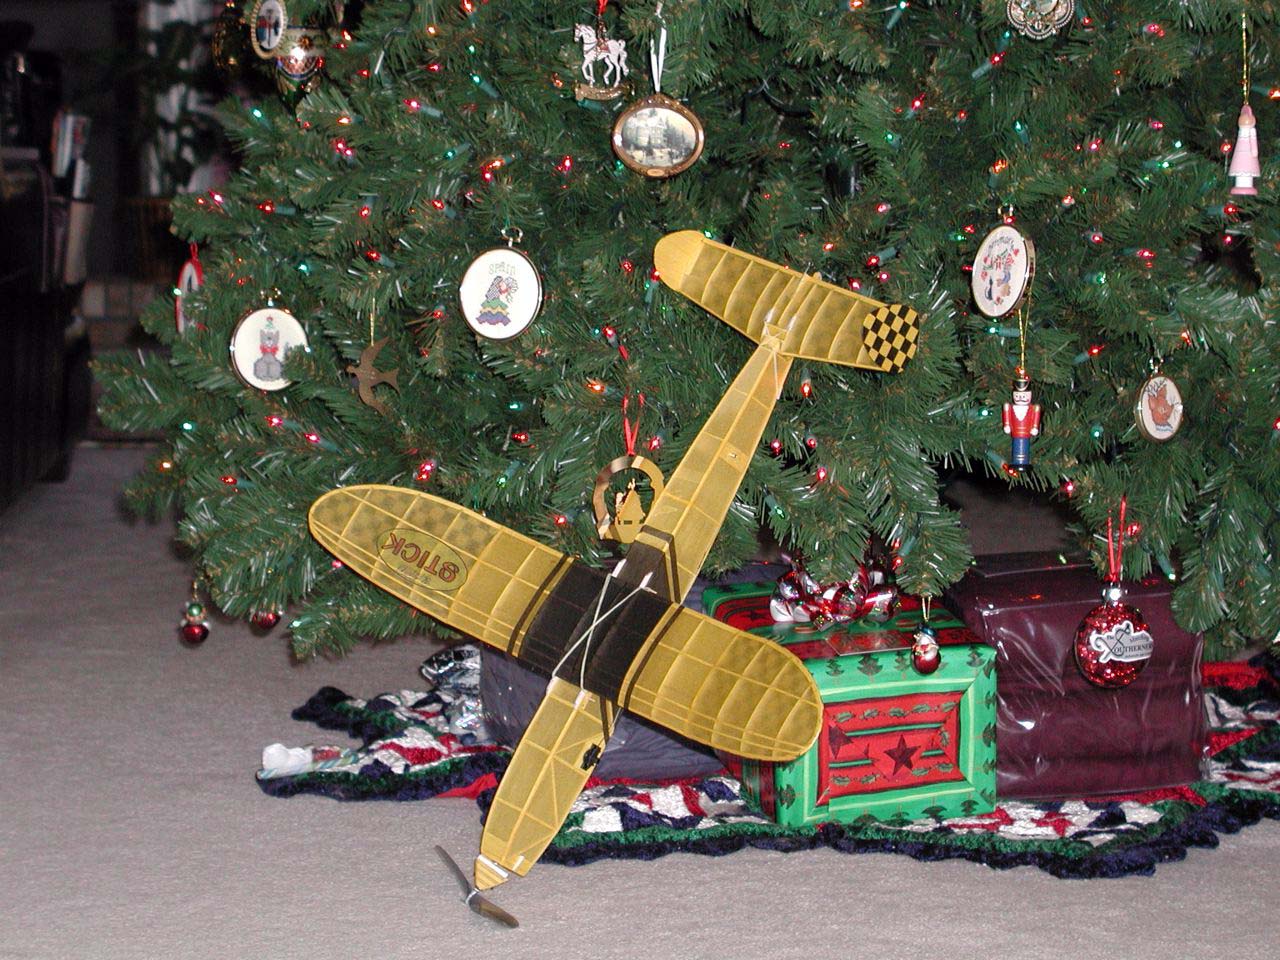
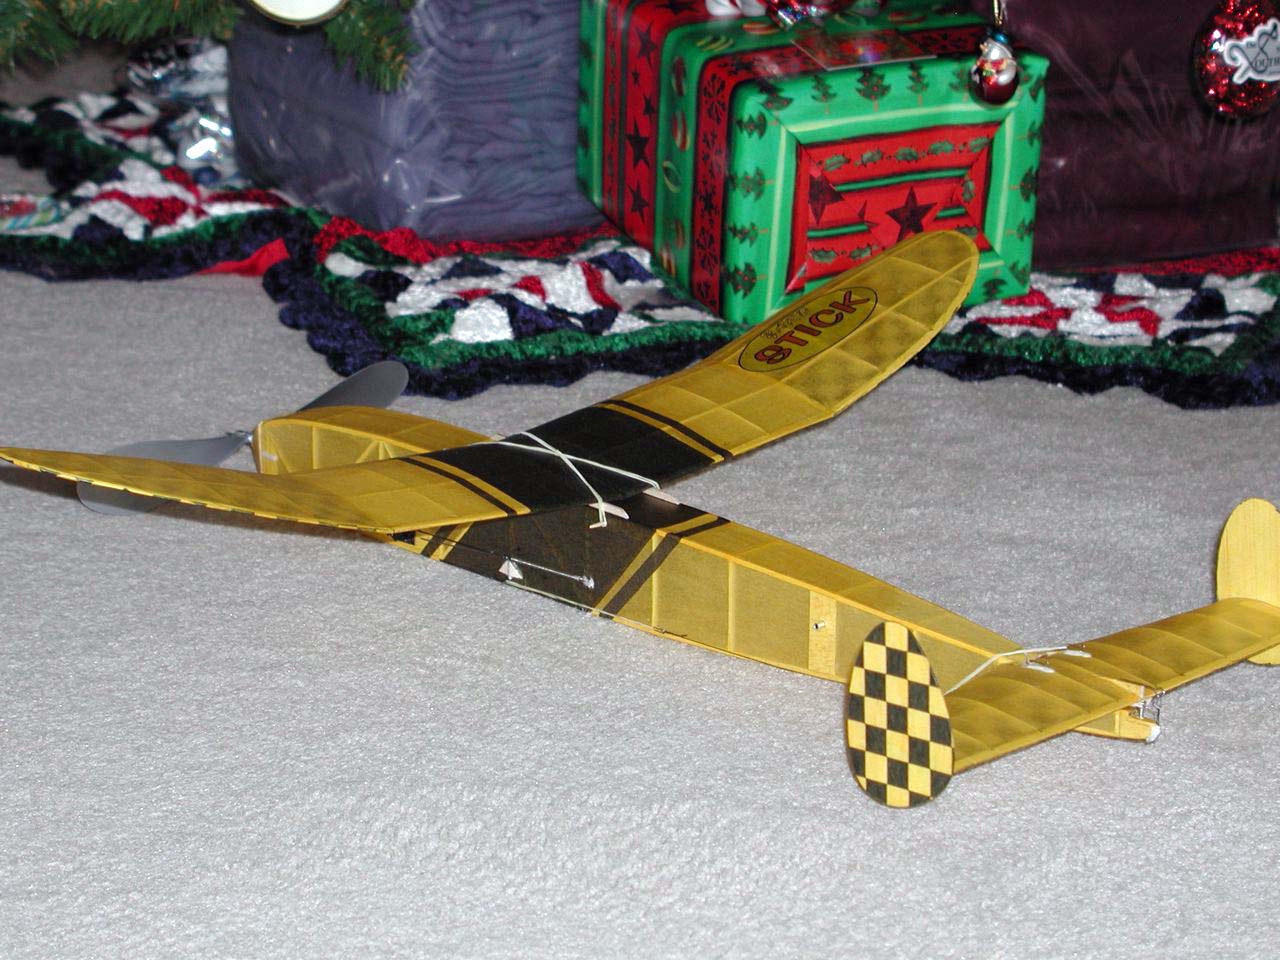
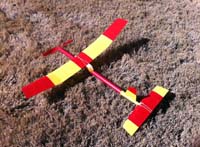
This is a picture of Randy
Ficklin's Boomer trimmed in yellow and blue. It makes
for a very nice looking model under the Christmas tree. |
|

|
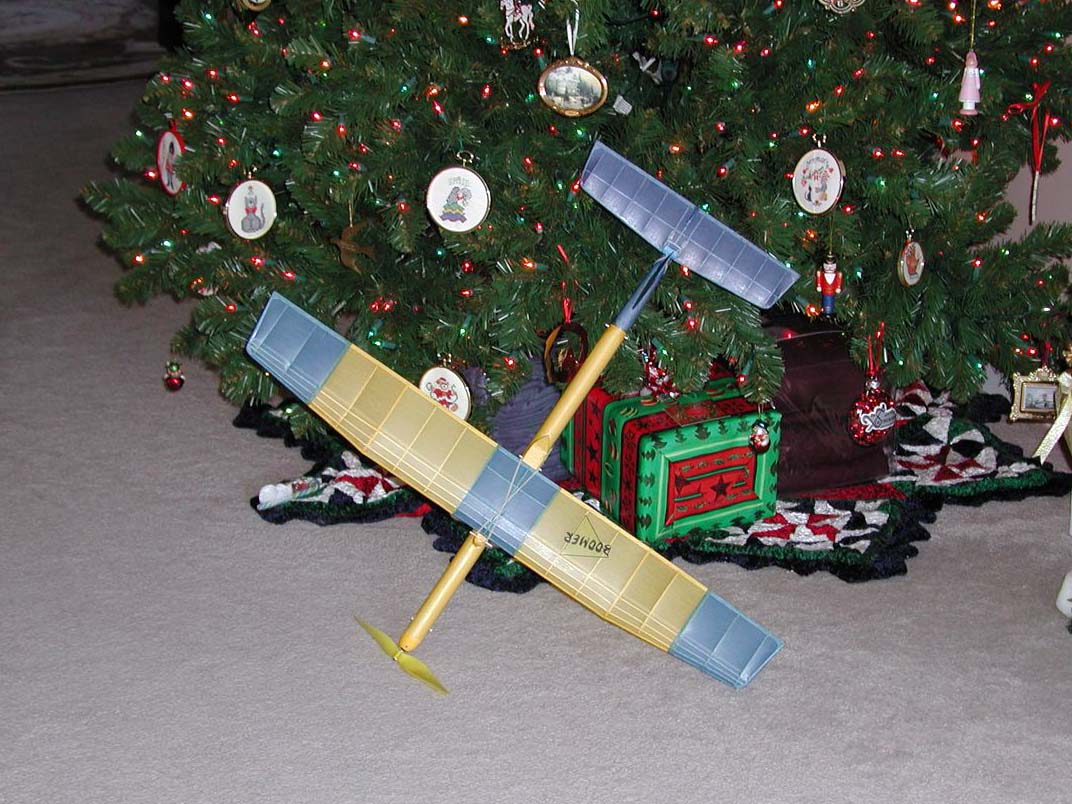
Another view of Randy's
Boomer under the Christmas tree. |
|
|
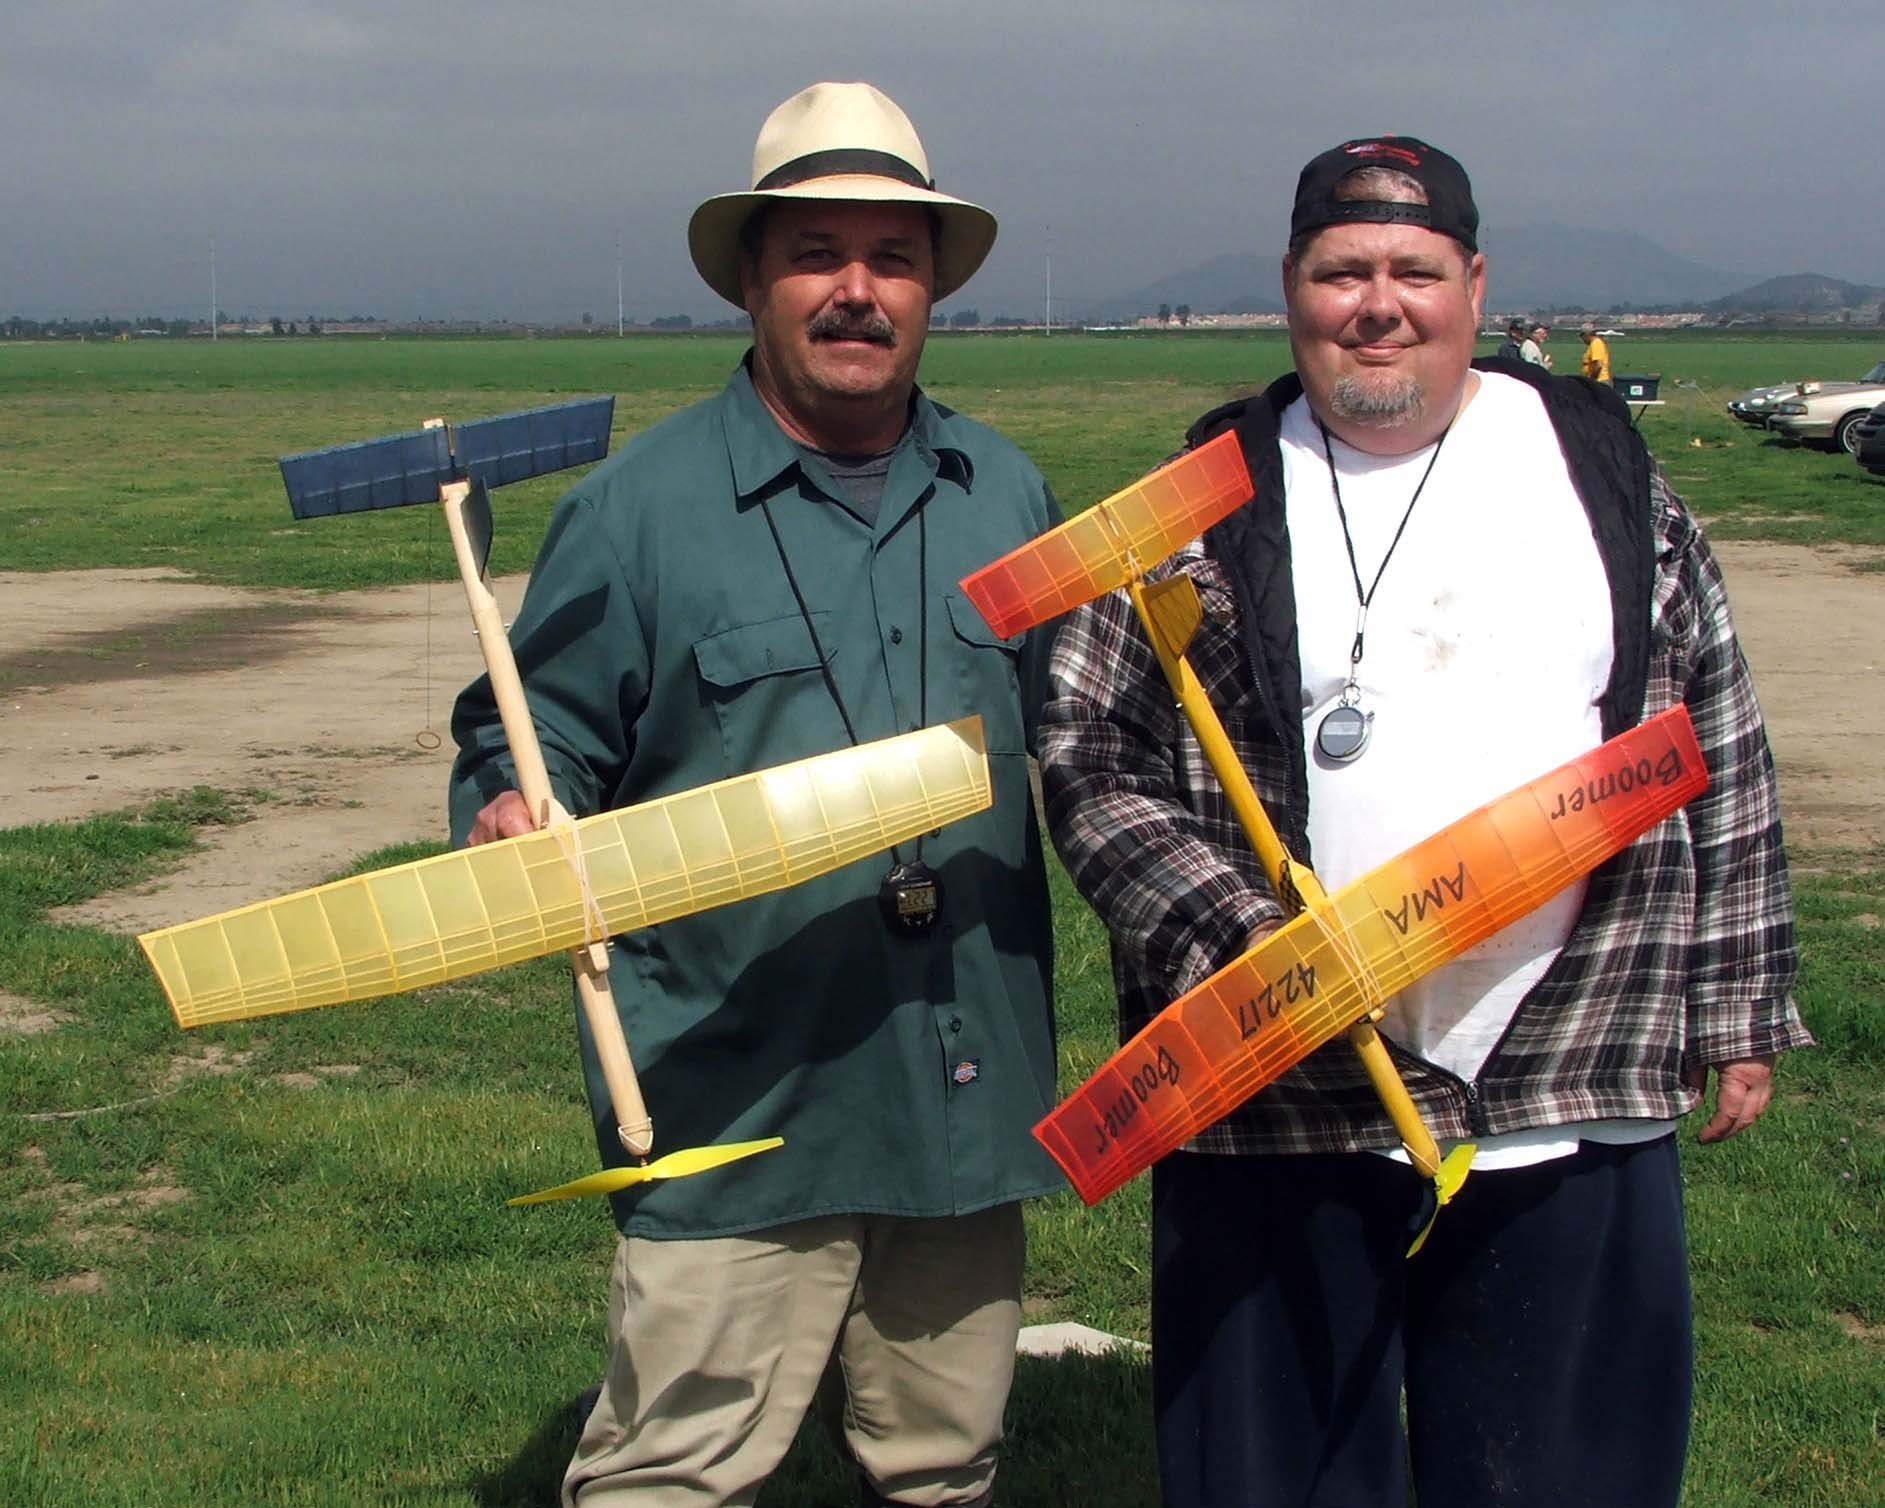
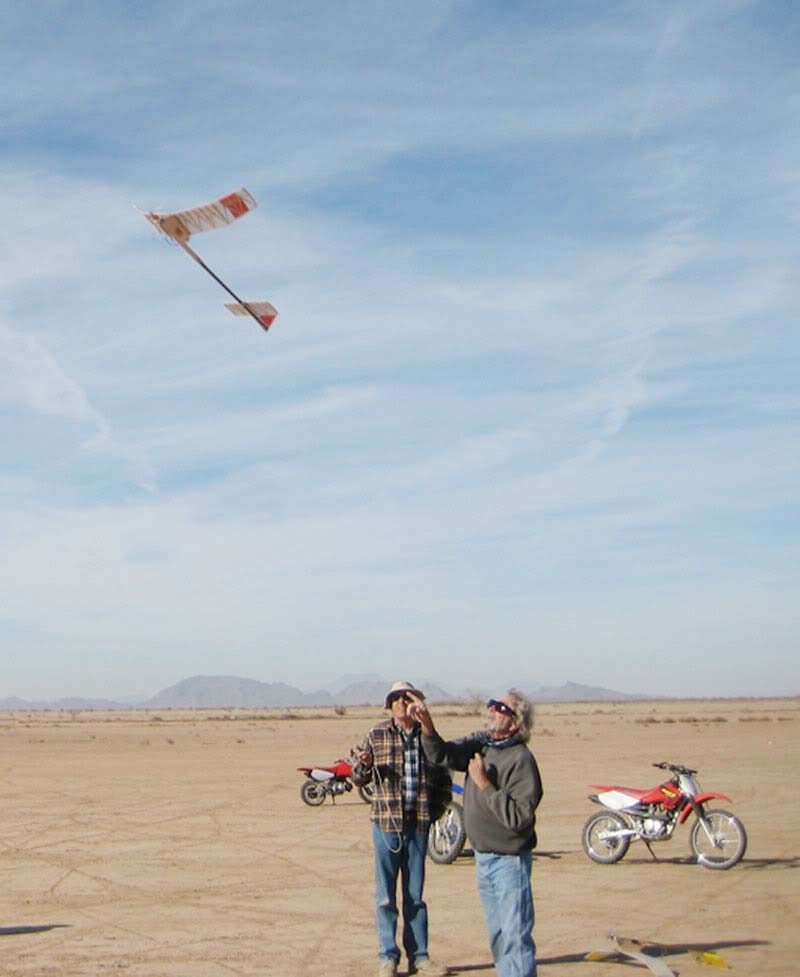
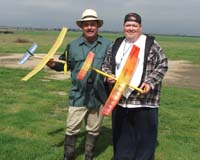
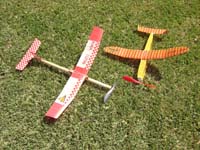
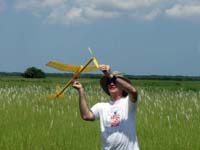
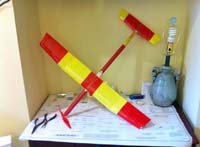
Skip Robb (left) and Kevin Sherman (right) with their BOOMER
P-30's.
Kevin Sherman was the first Boomer customer.
|
|
|
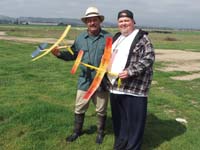
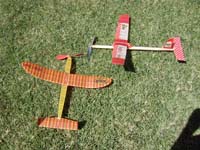
Picture number 2 of
Skip and Kevin with their BOOMER P-30's
|
|
|
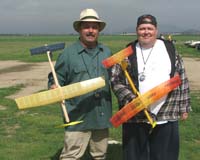
Picture number 3 of
Skip and Kevin with their BOOMER P-30's
|
|
|
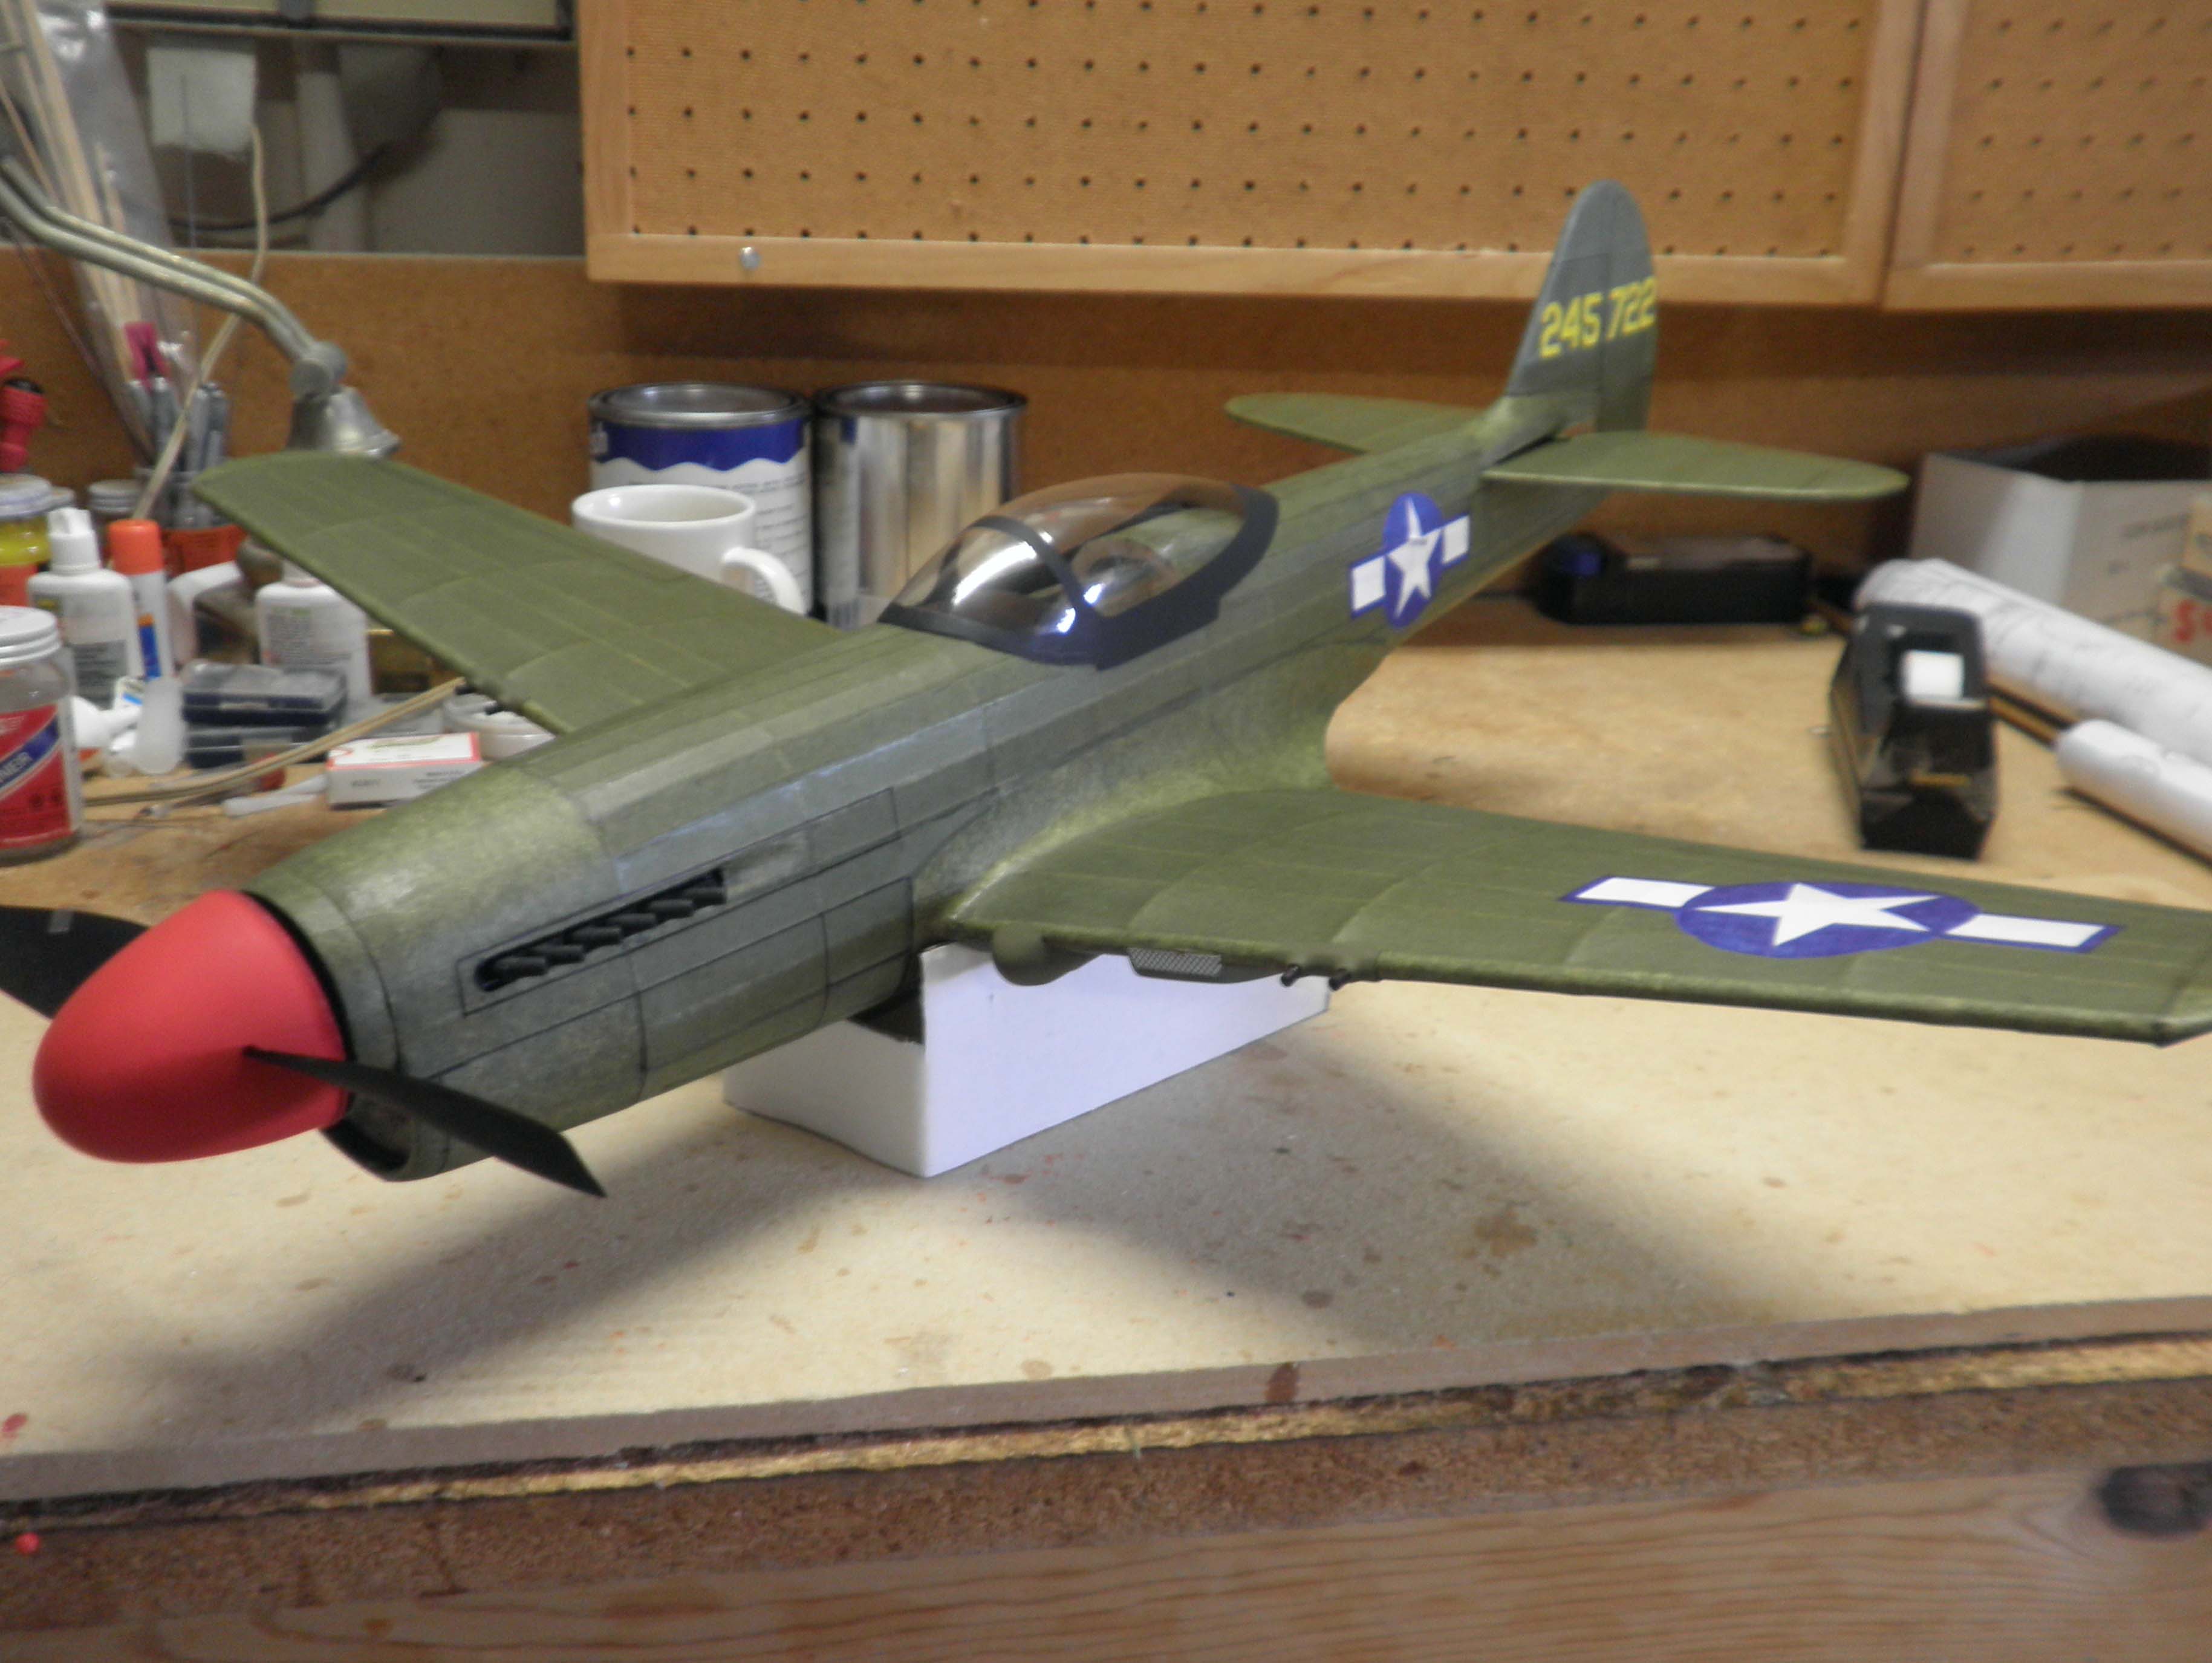
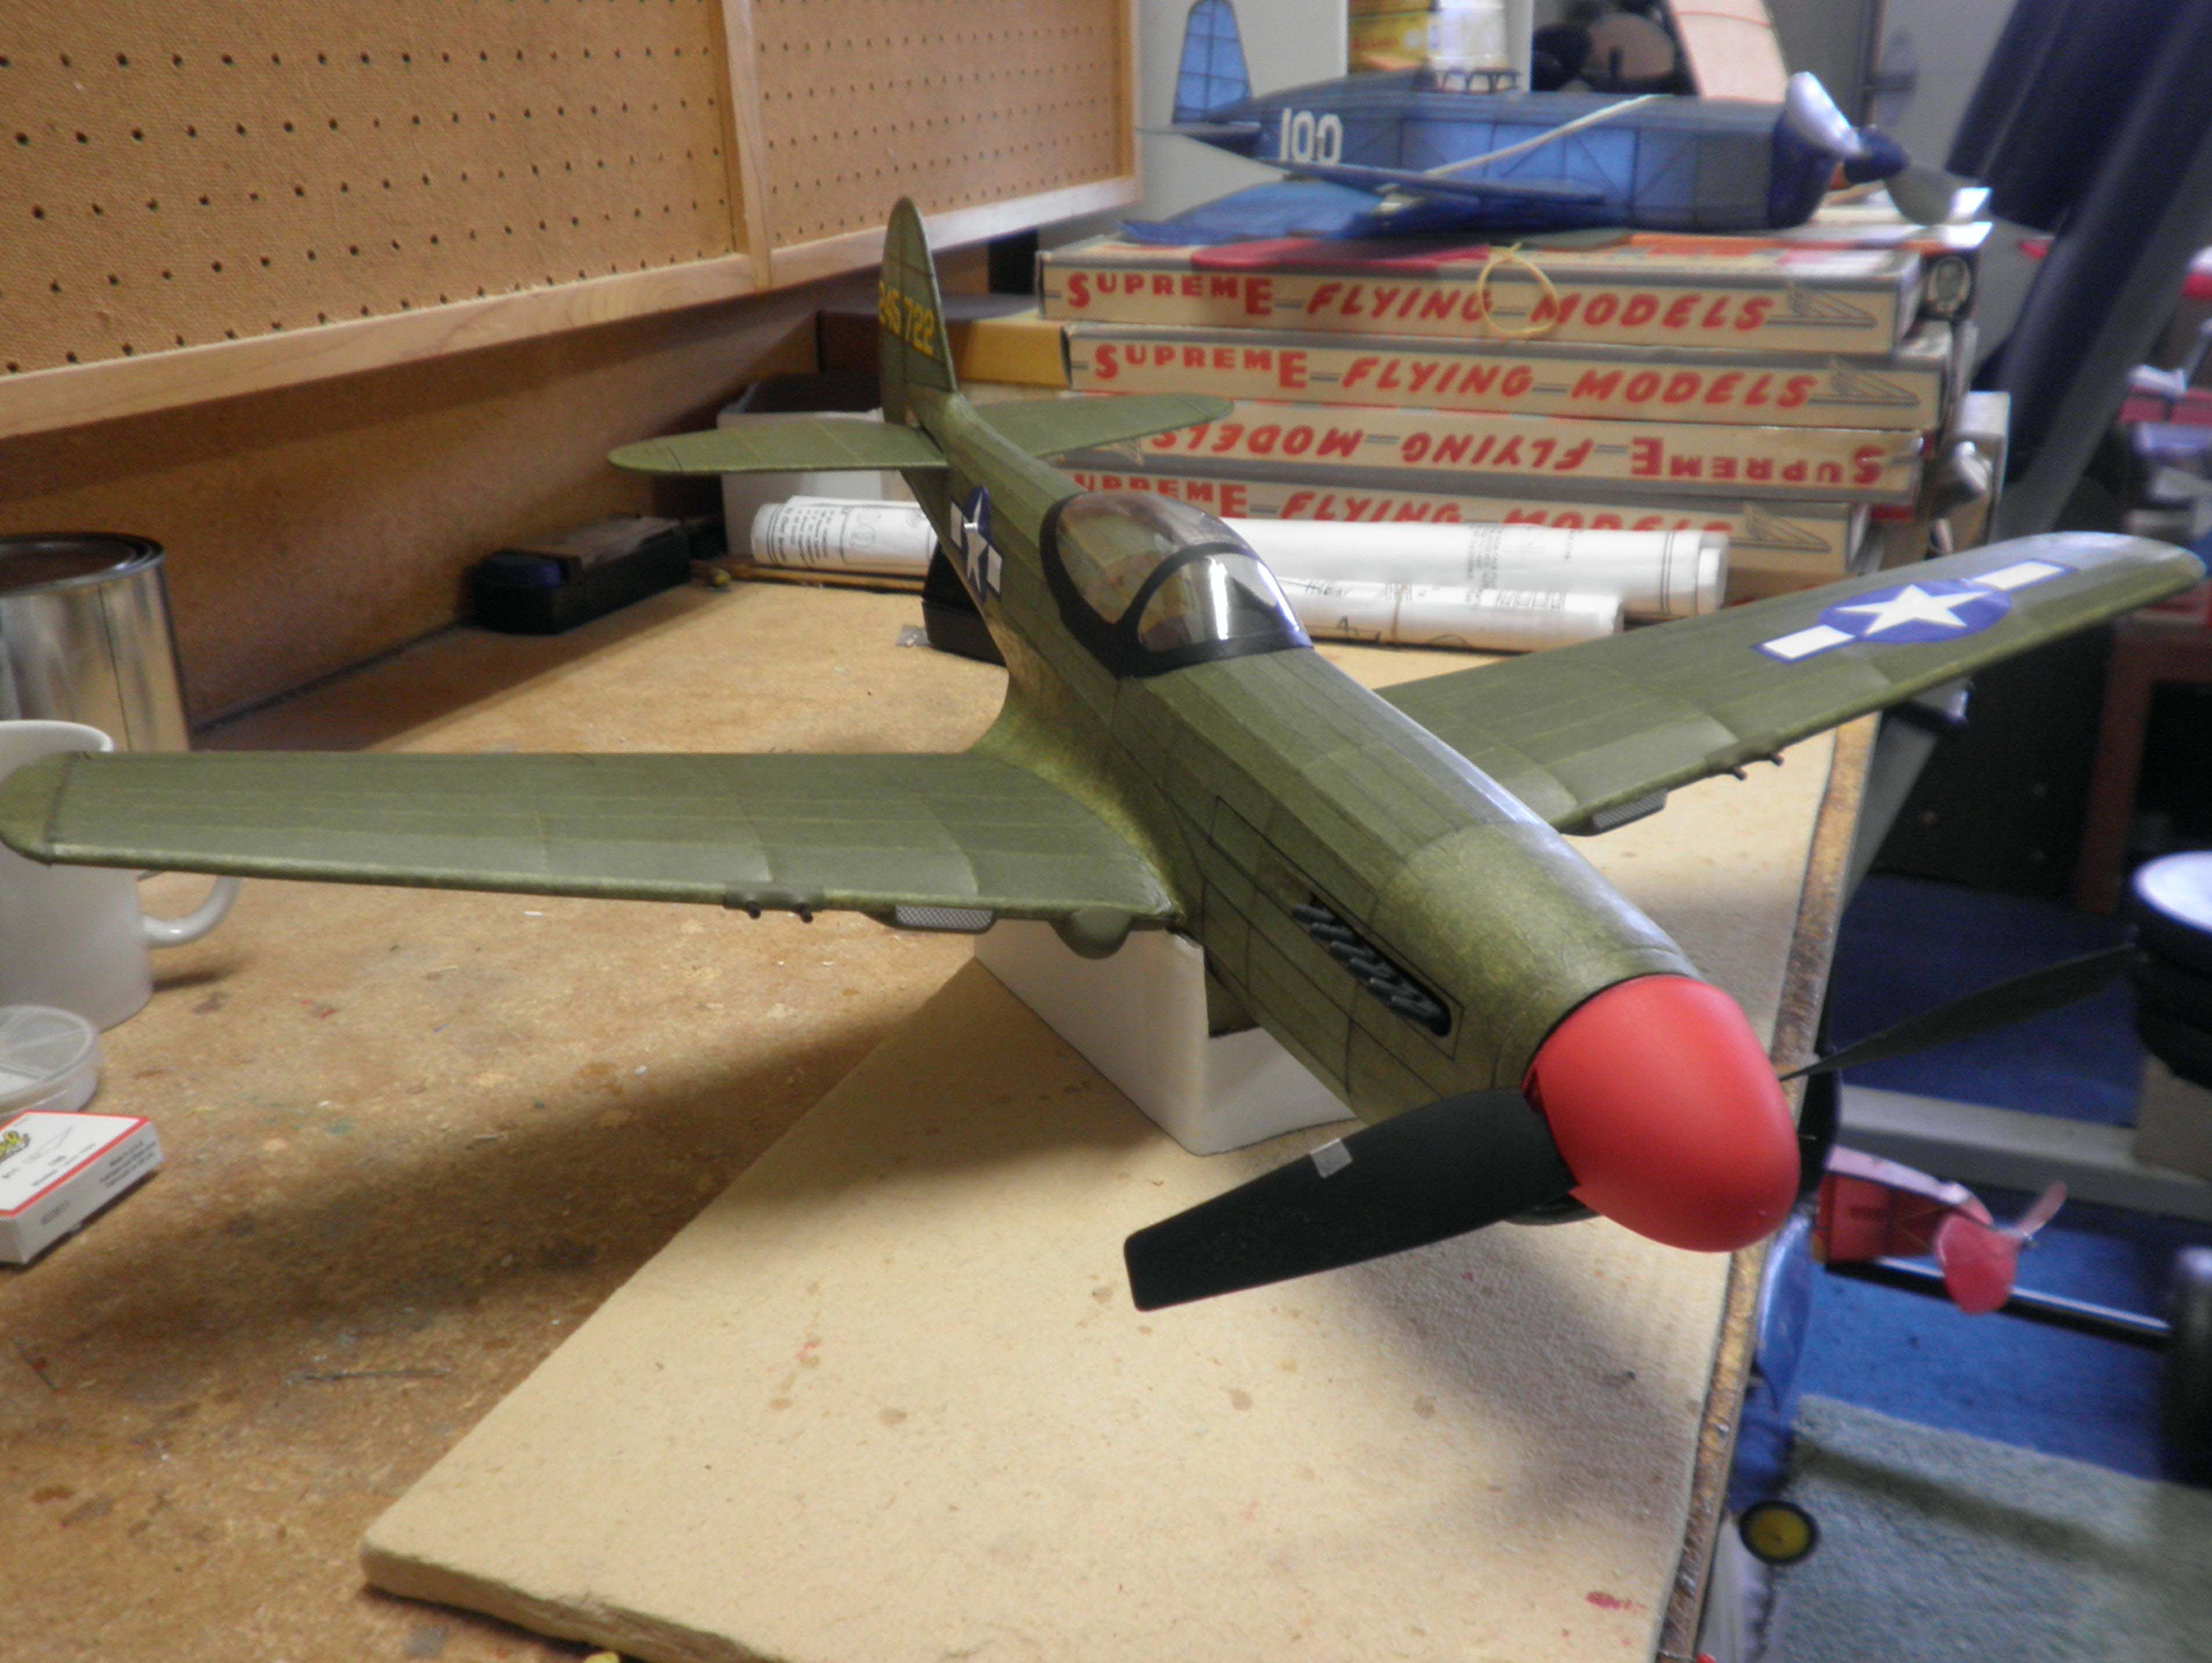
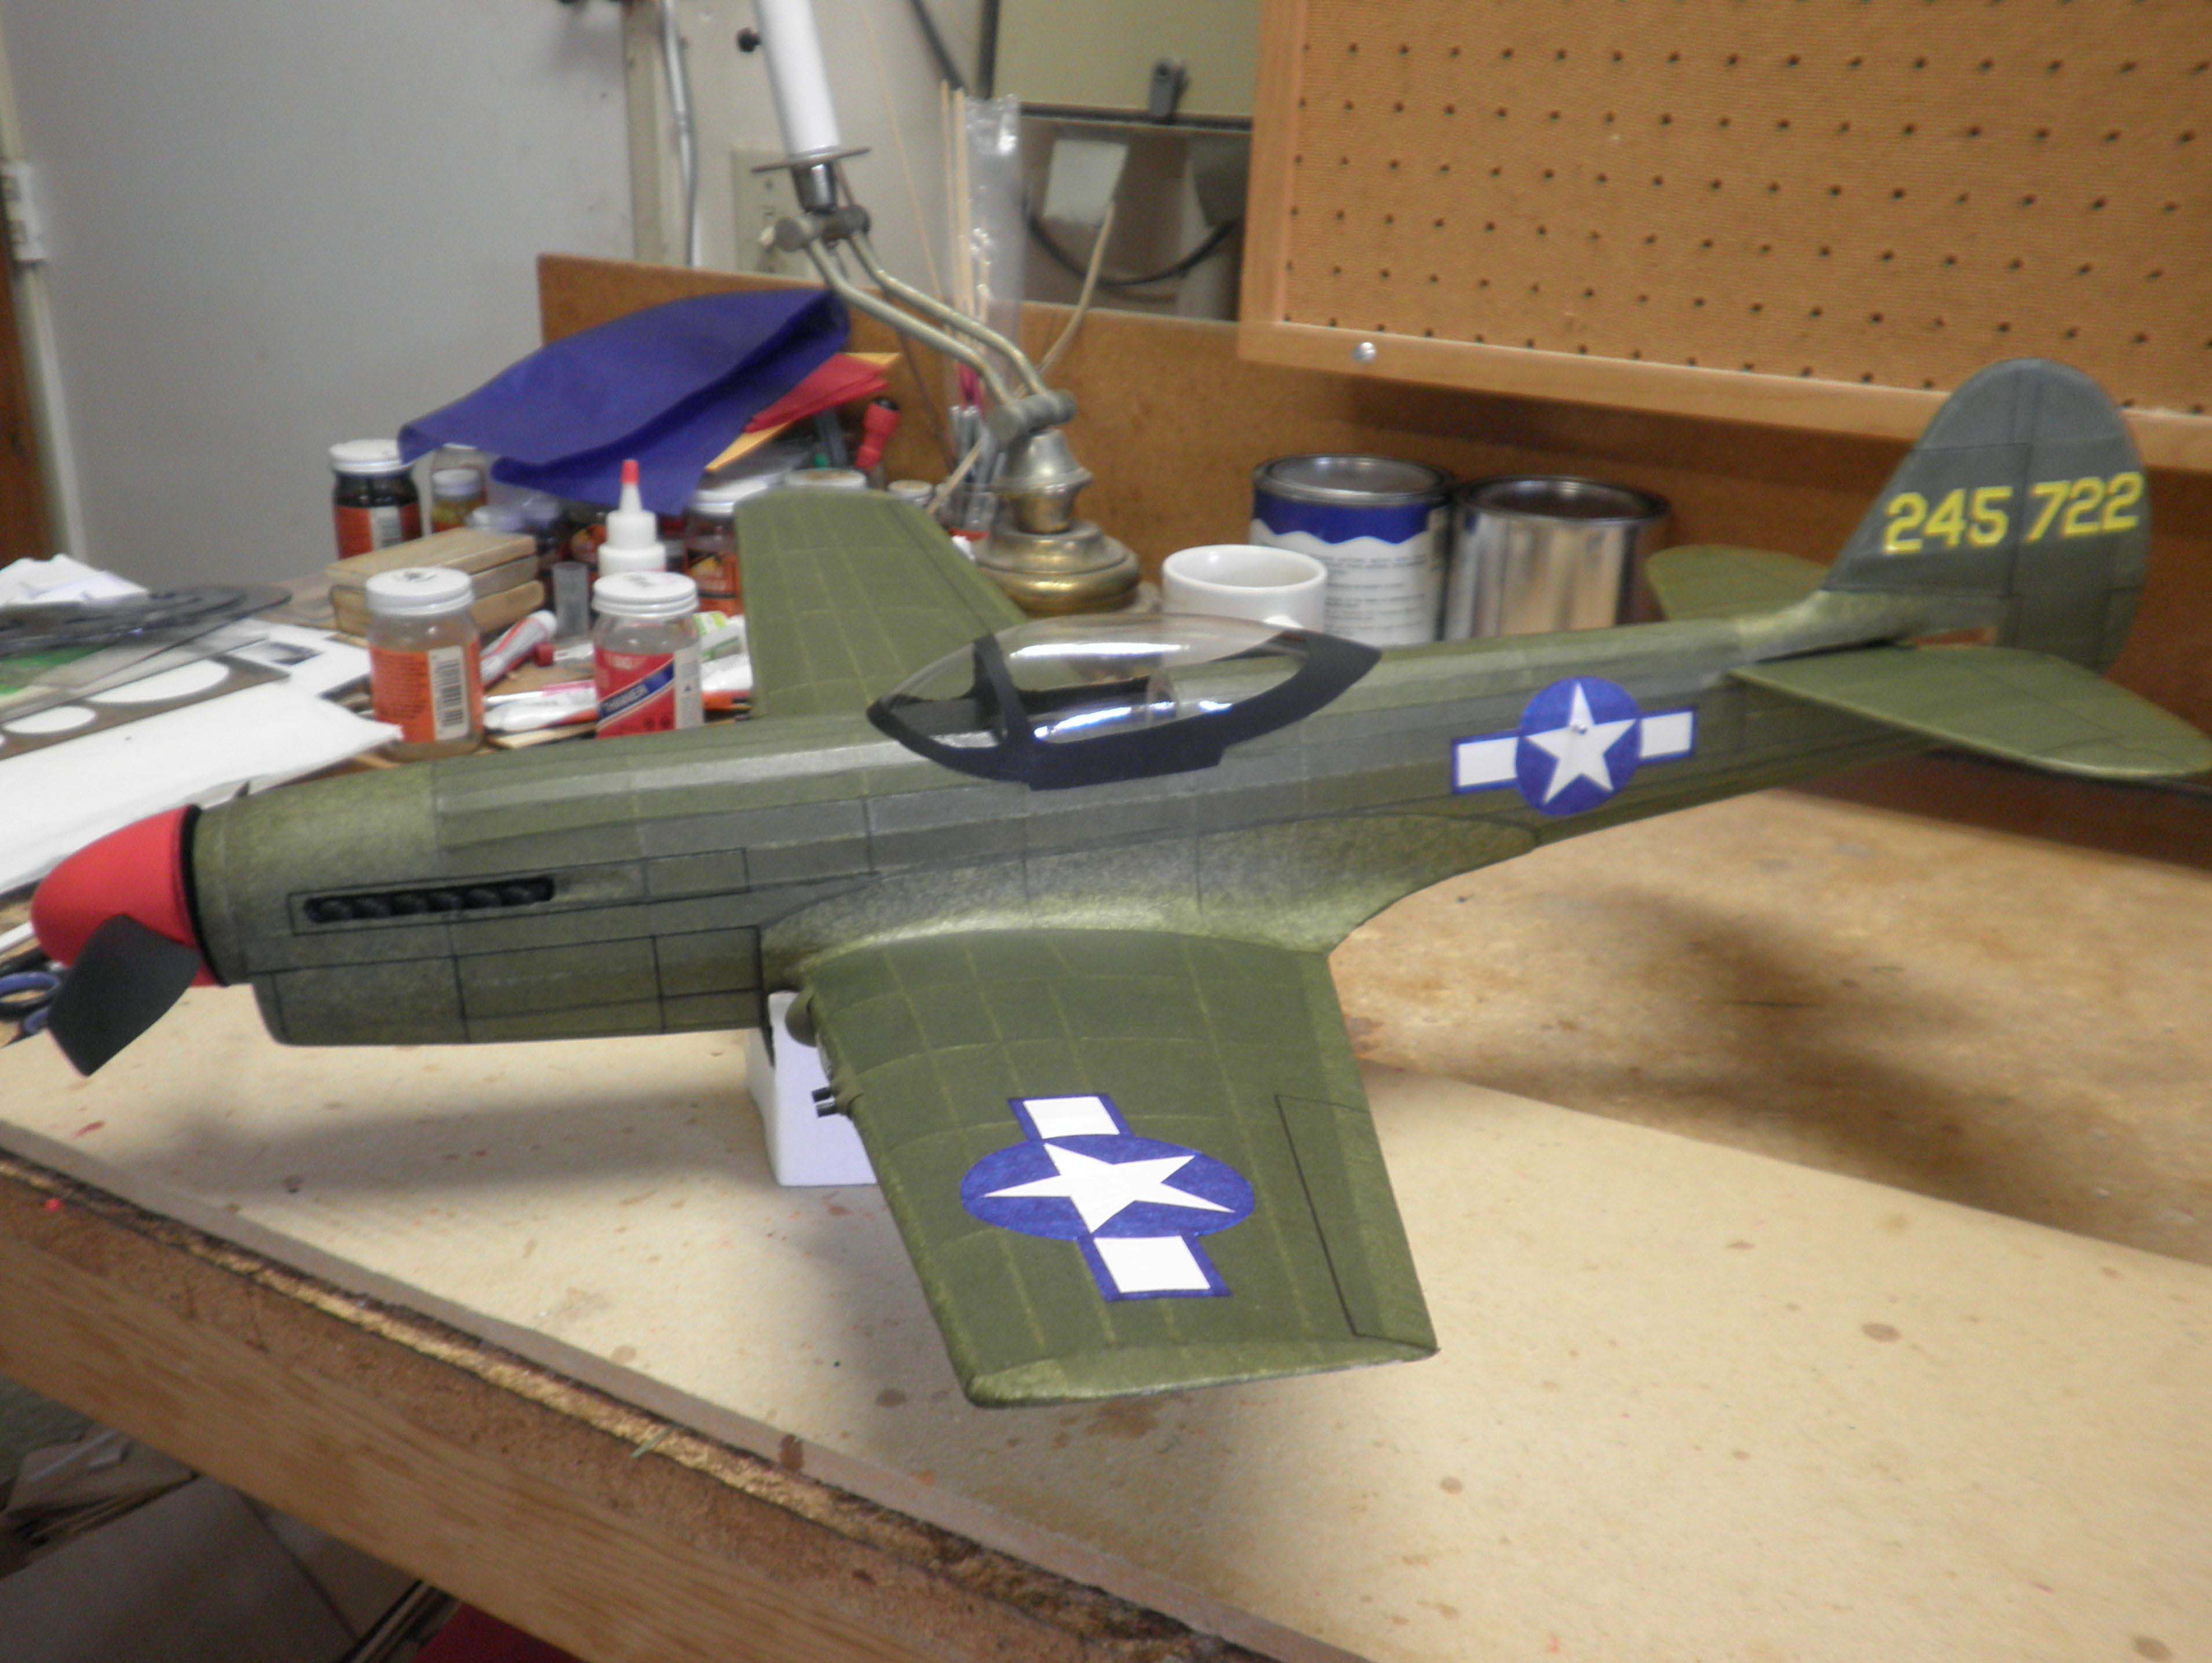
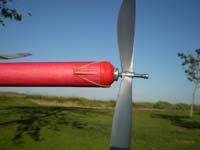
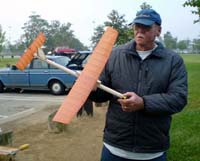
Here is a shot of Clint Brooks holding his latest proof build
BOOMER MK-II. The picture was taken at the Dog Park in Costa Mesa
California a couple of weeks ago. The model has been set up with the Gizmo-Geezer front
end. Model as built per kit comes in at 37.7 grams without rubber. Stab and fin are tissue over mylar-the wing is tissue only.
|
|
|
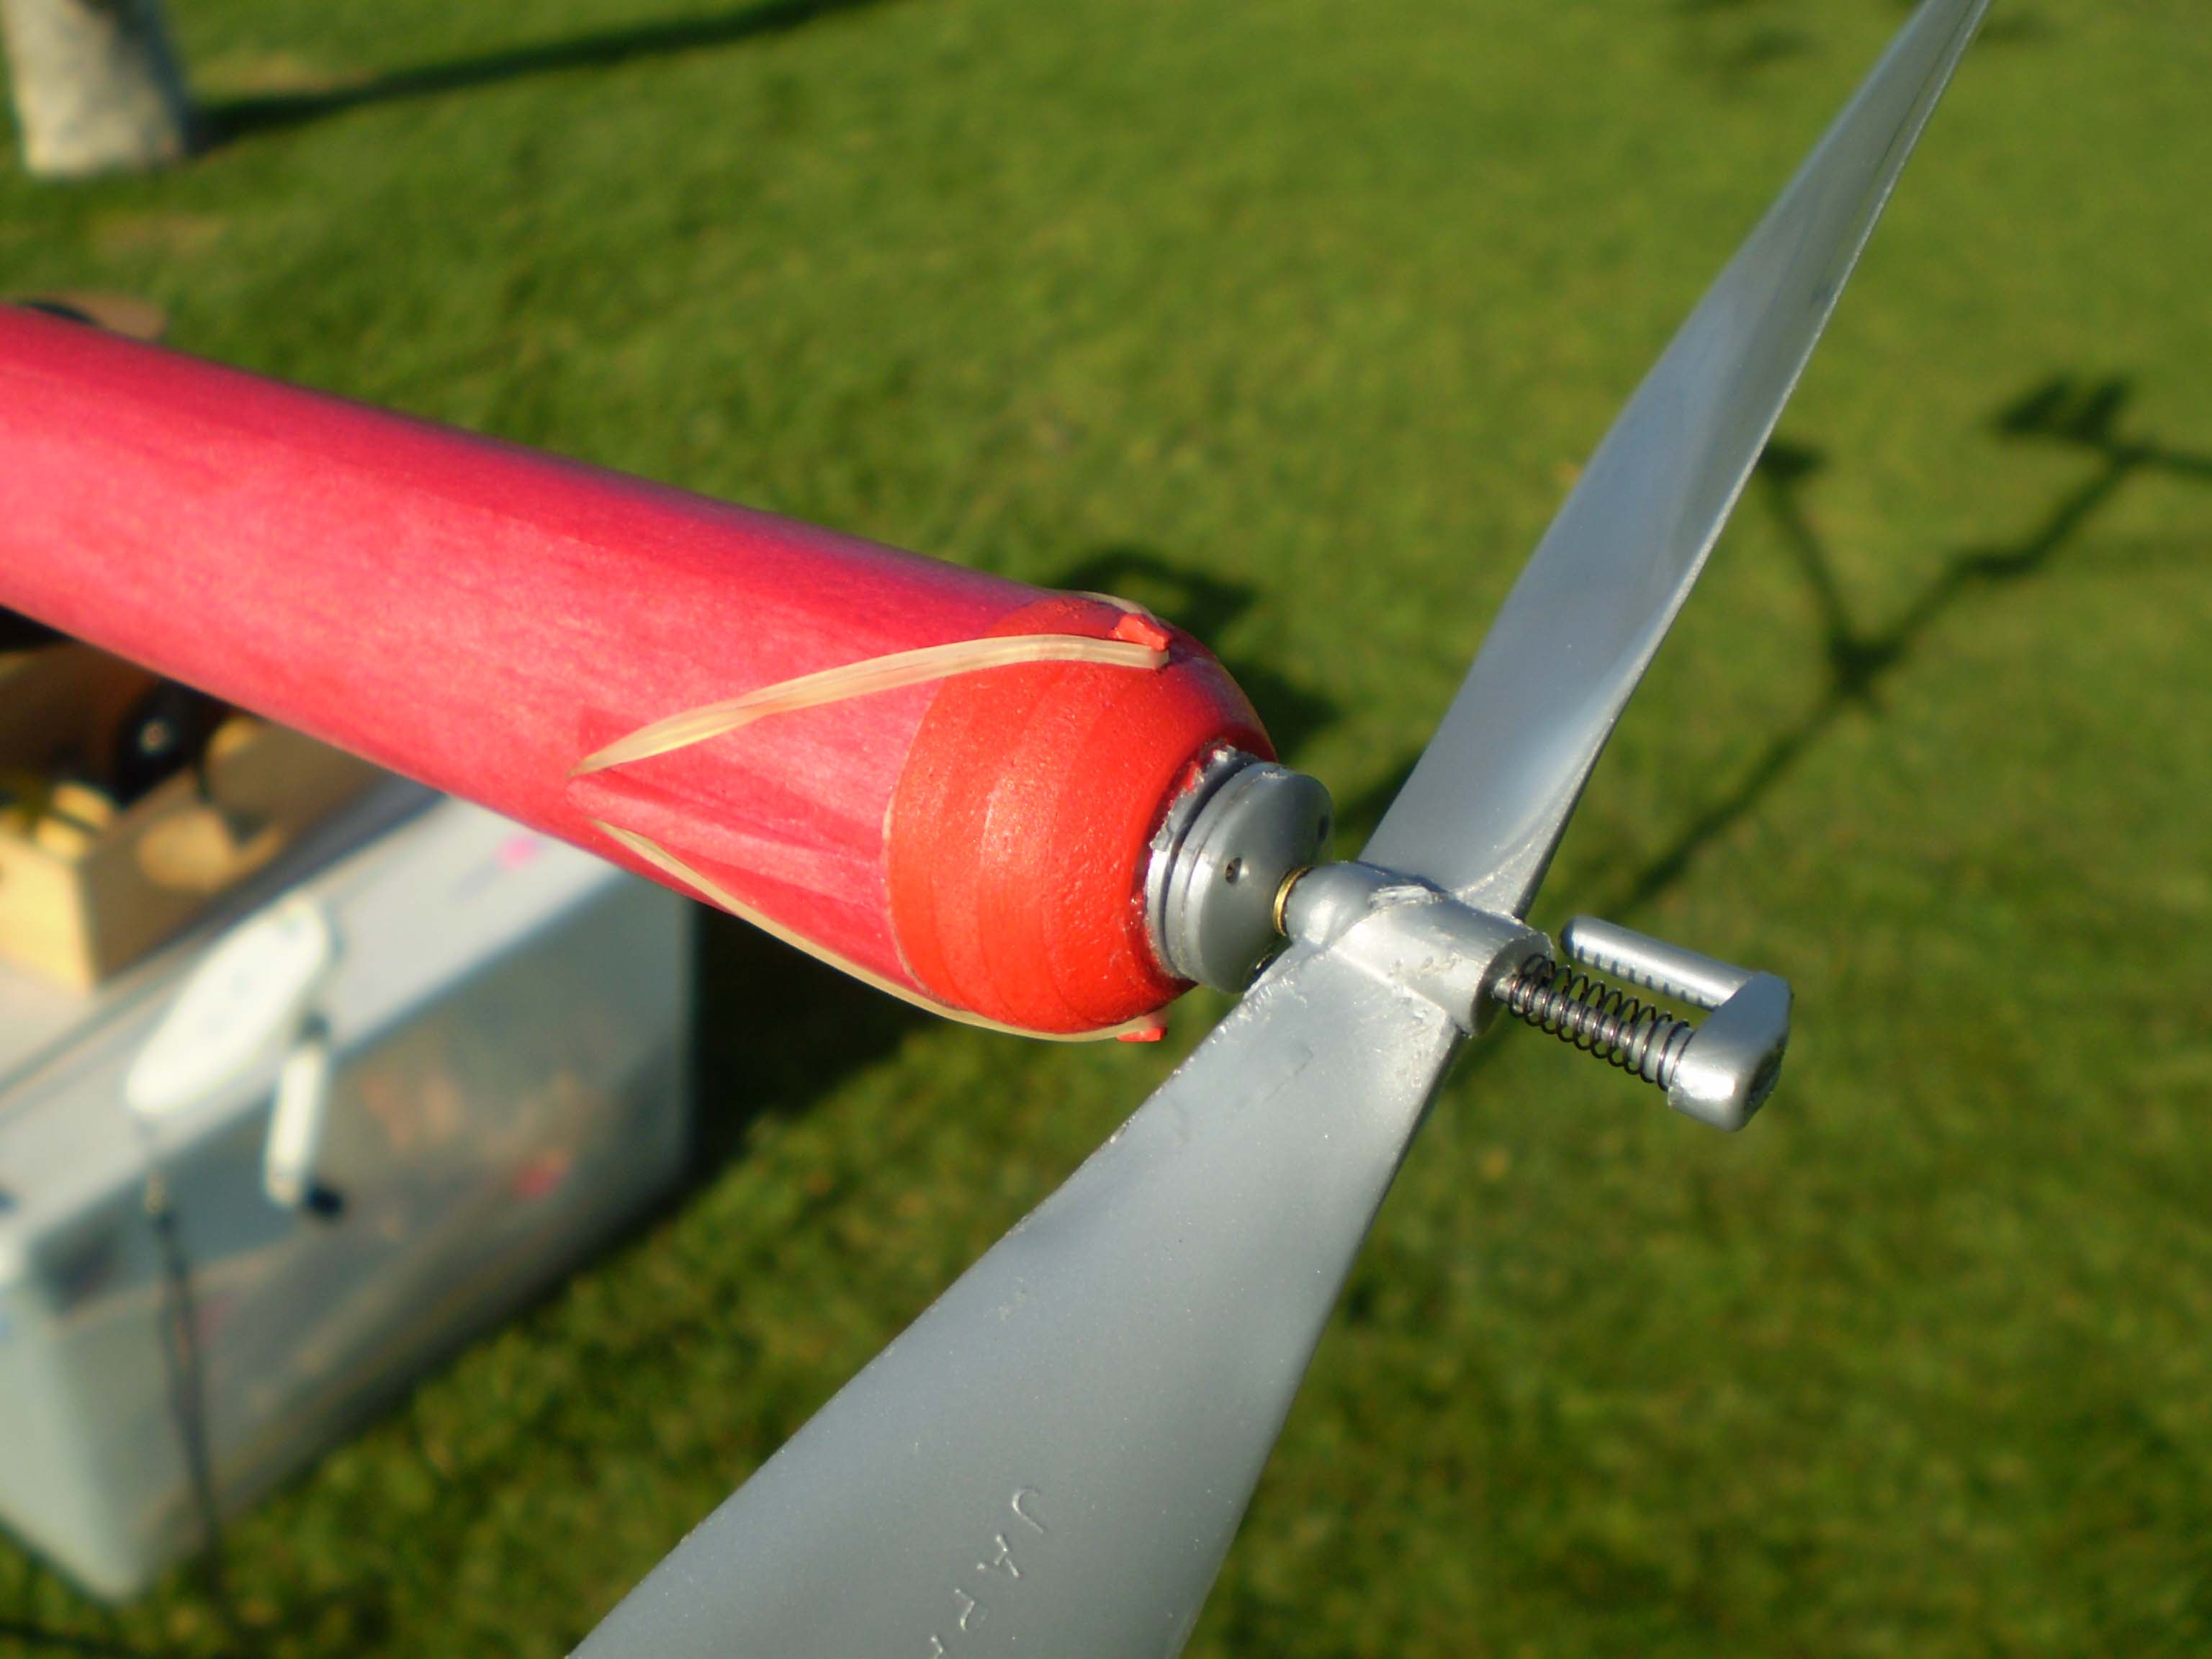
Close up of Clint's front end using the Gizmo-Geezer
front end assembly.
|
|

|
Another close up shot of Clint's front end
using the Gizmo-Geezer front end assembly
|
|
|
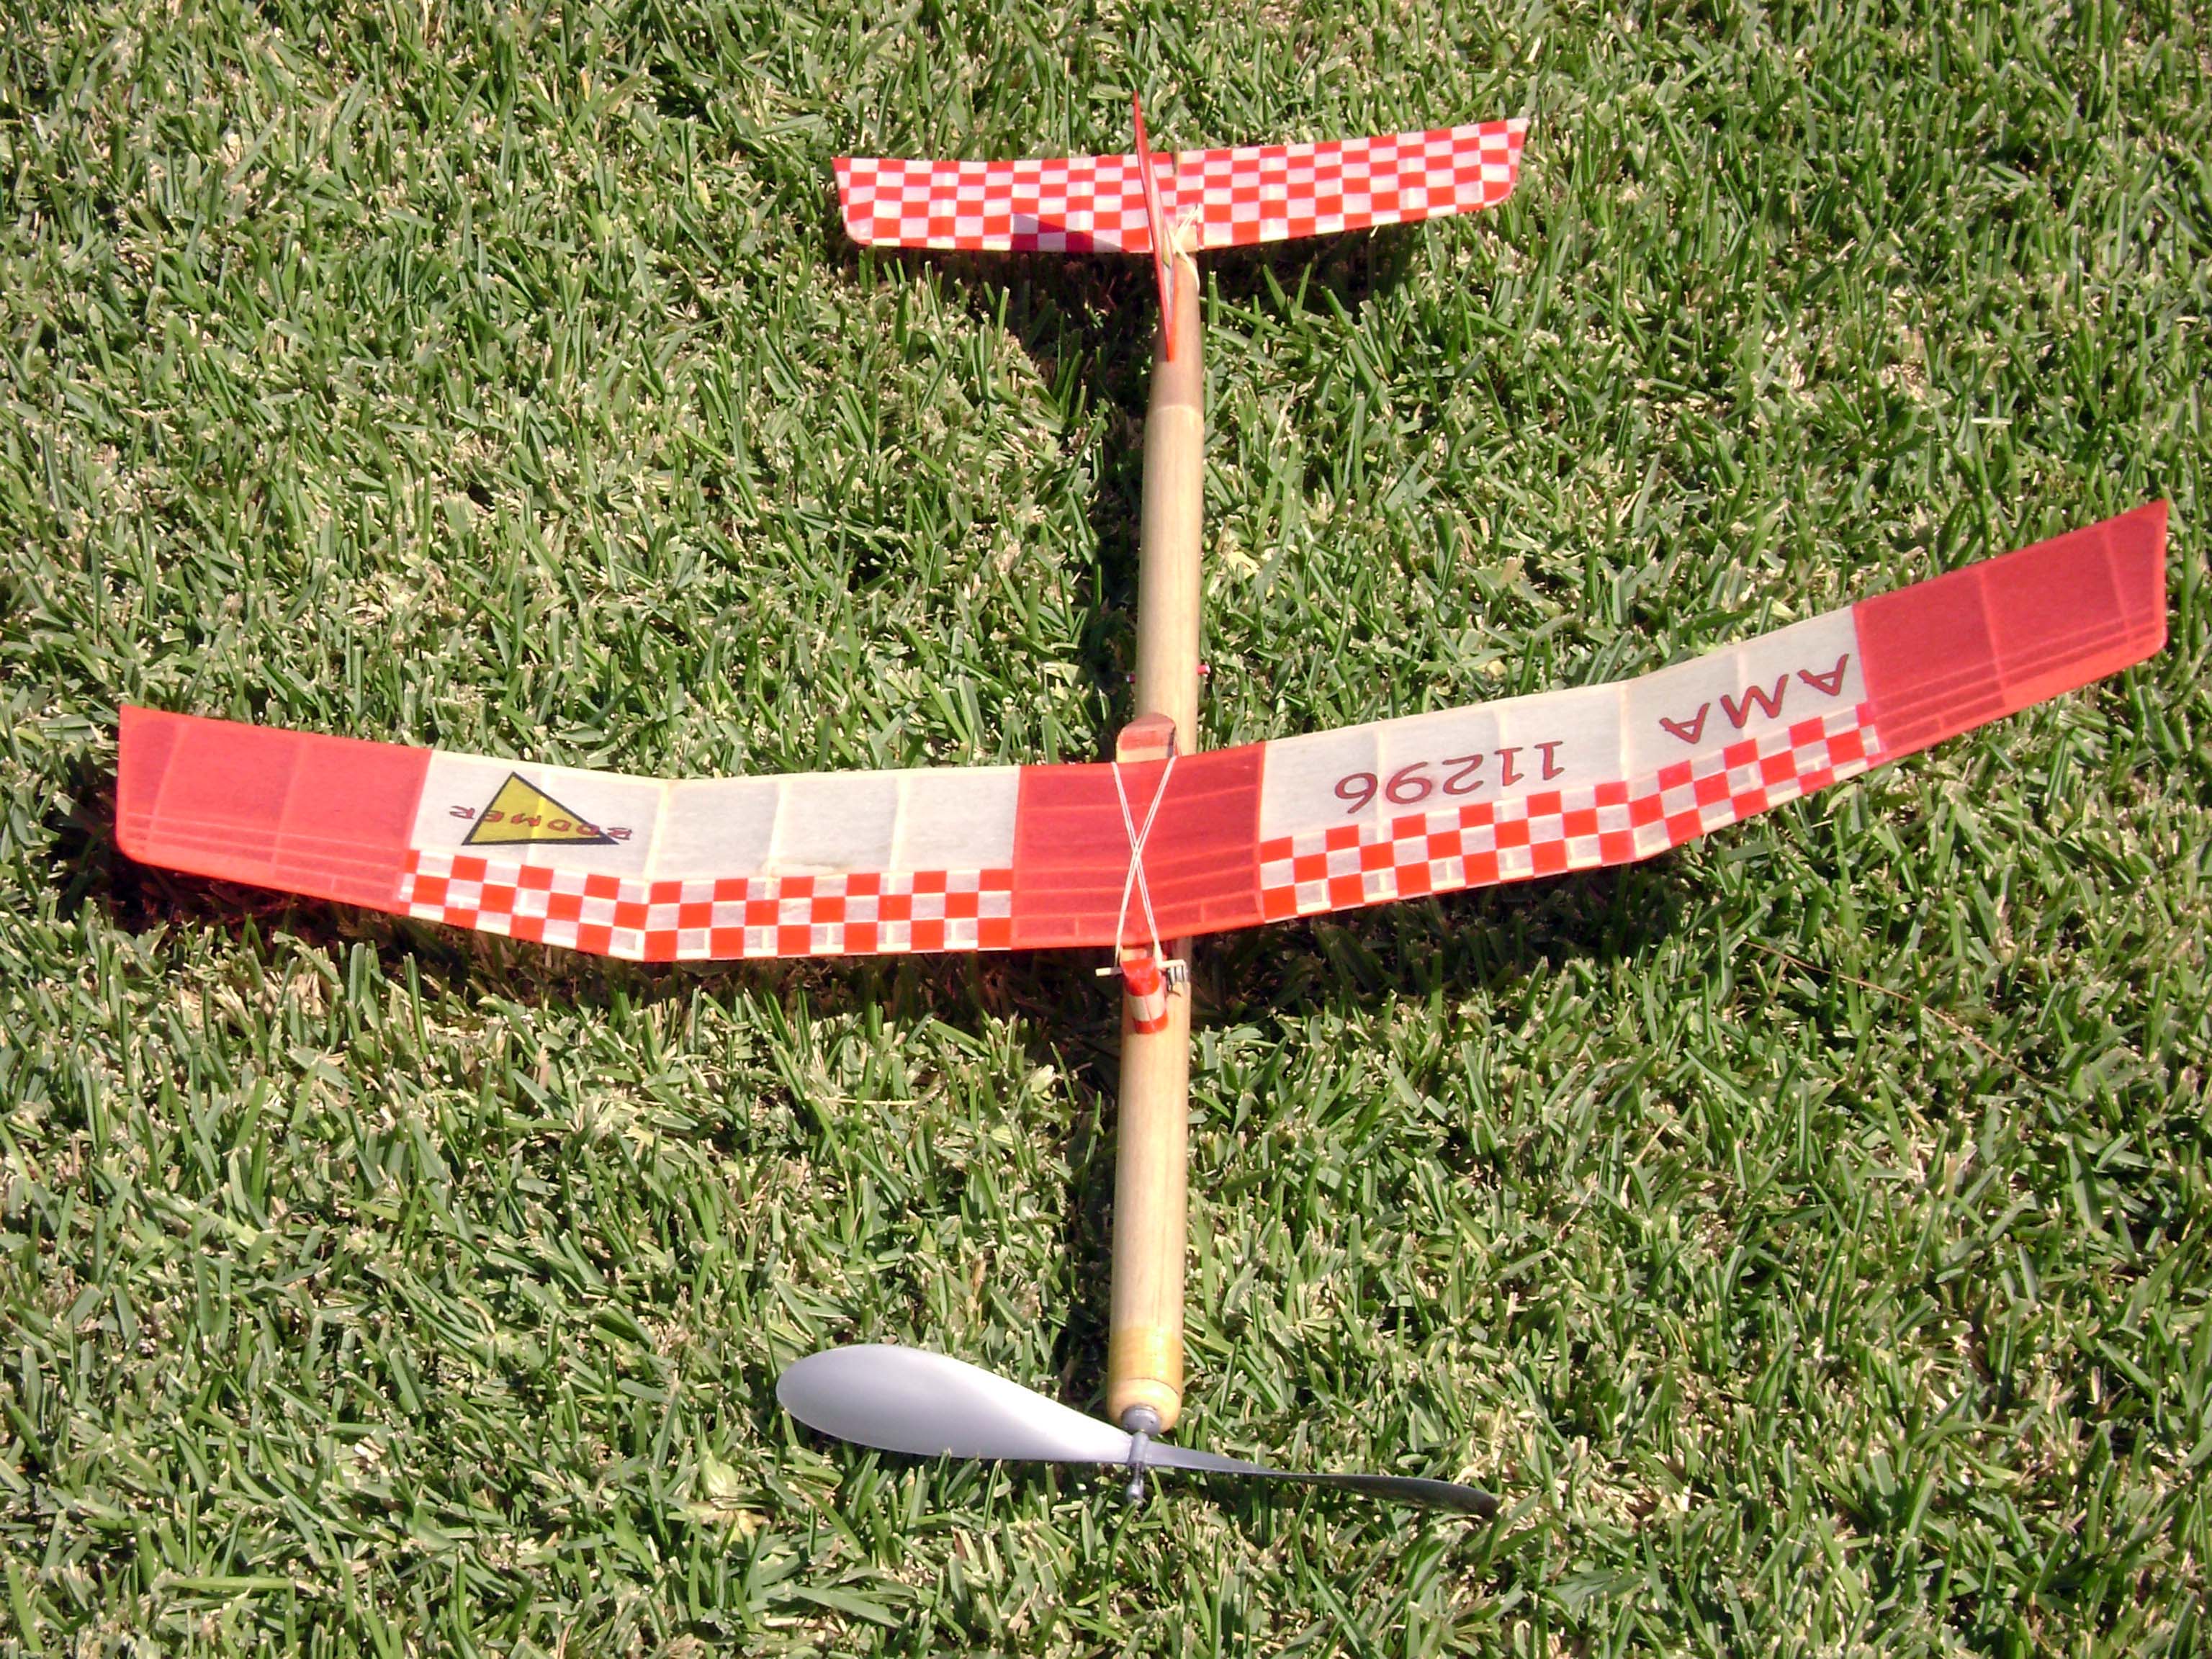
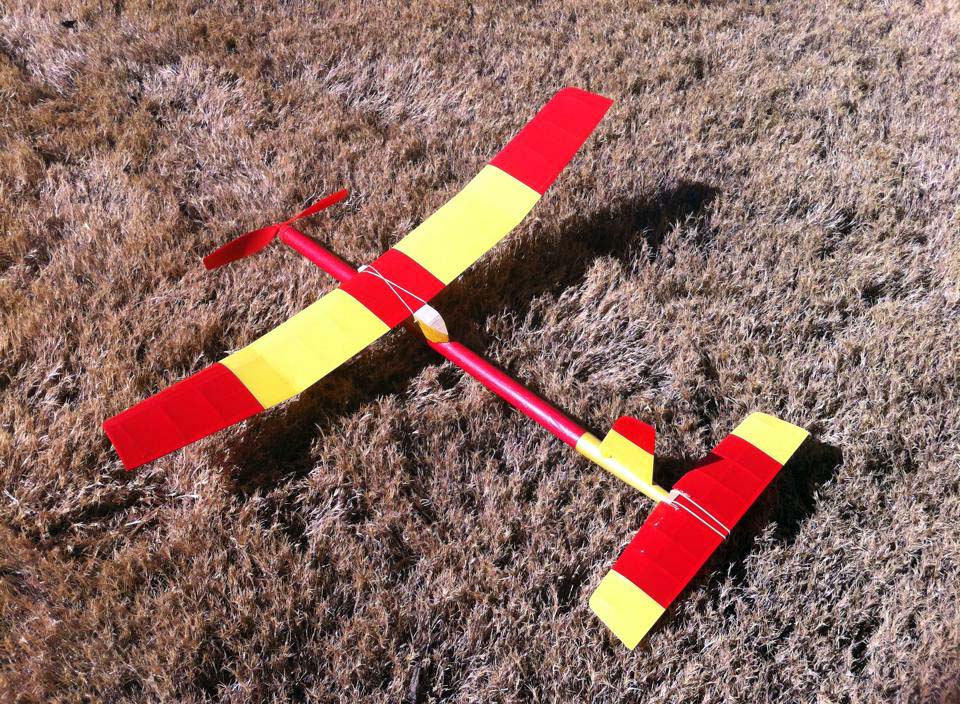
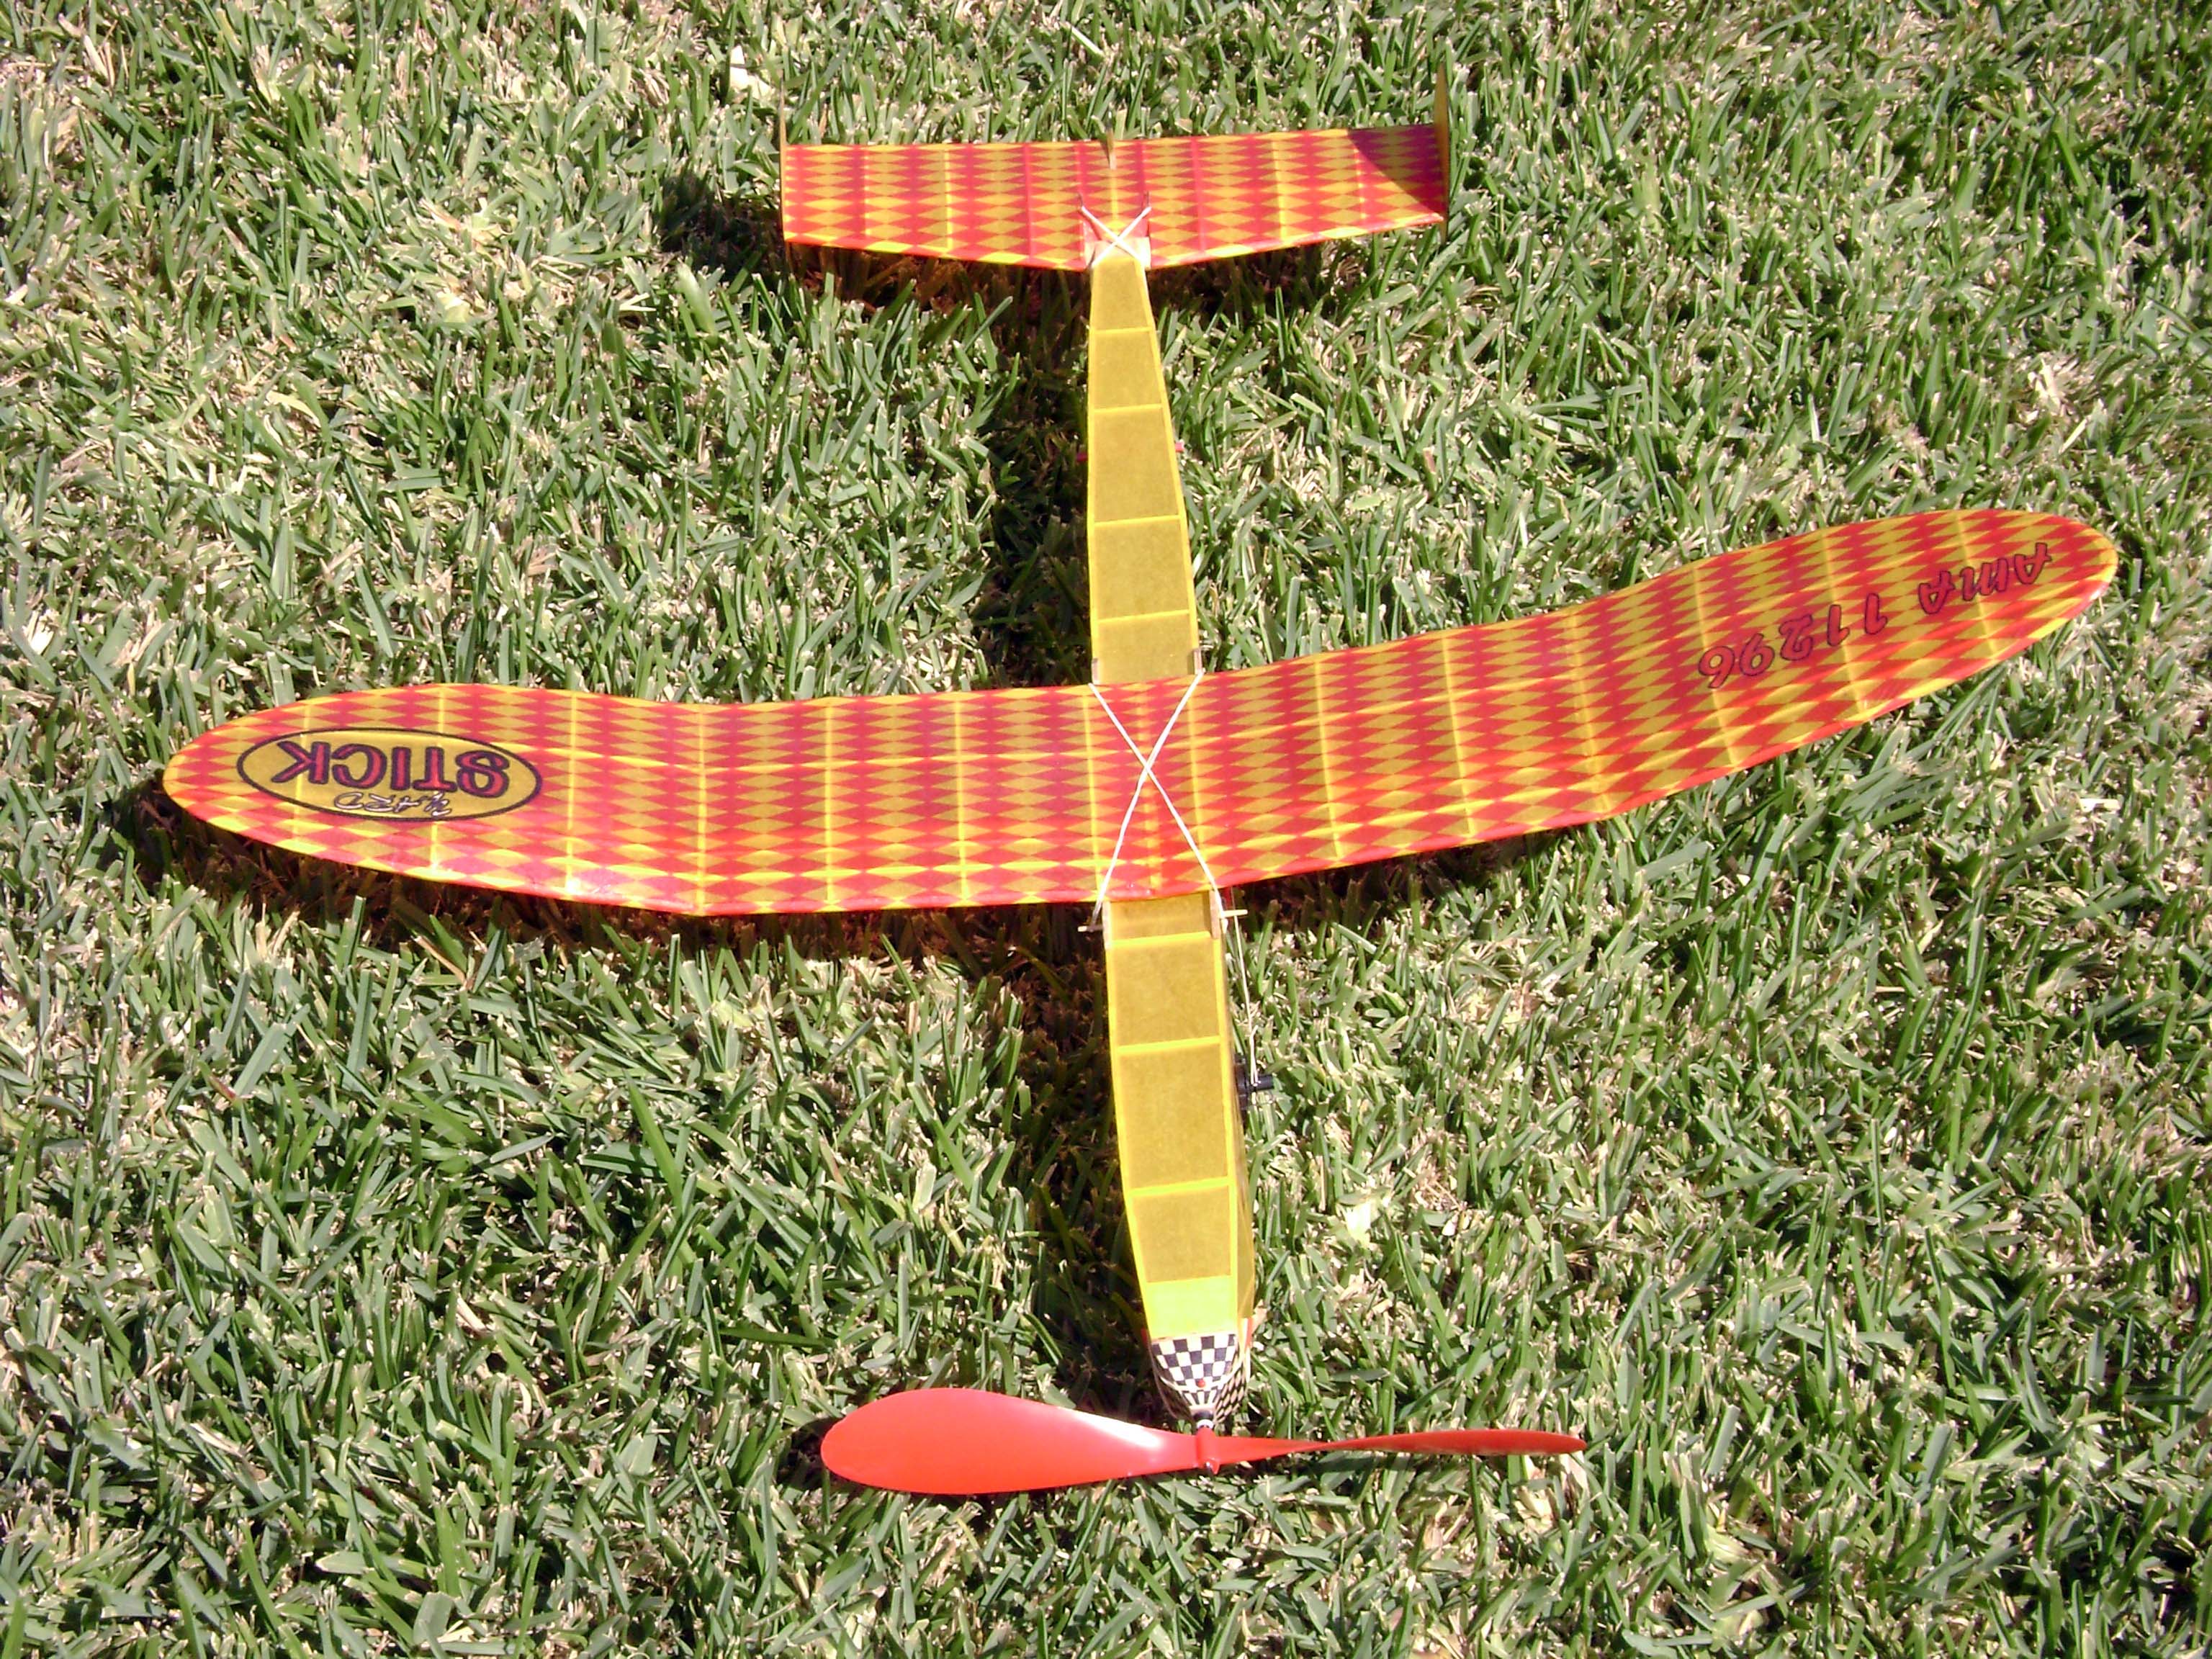
Richard Browning's BOOMER trimmed in red and
white tissue. Richard took 3rd place at his first model meet
the 51st Annual San Diego Orbiteers and Fresno Gas Model Club Dual
meet
|
|
|
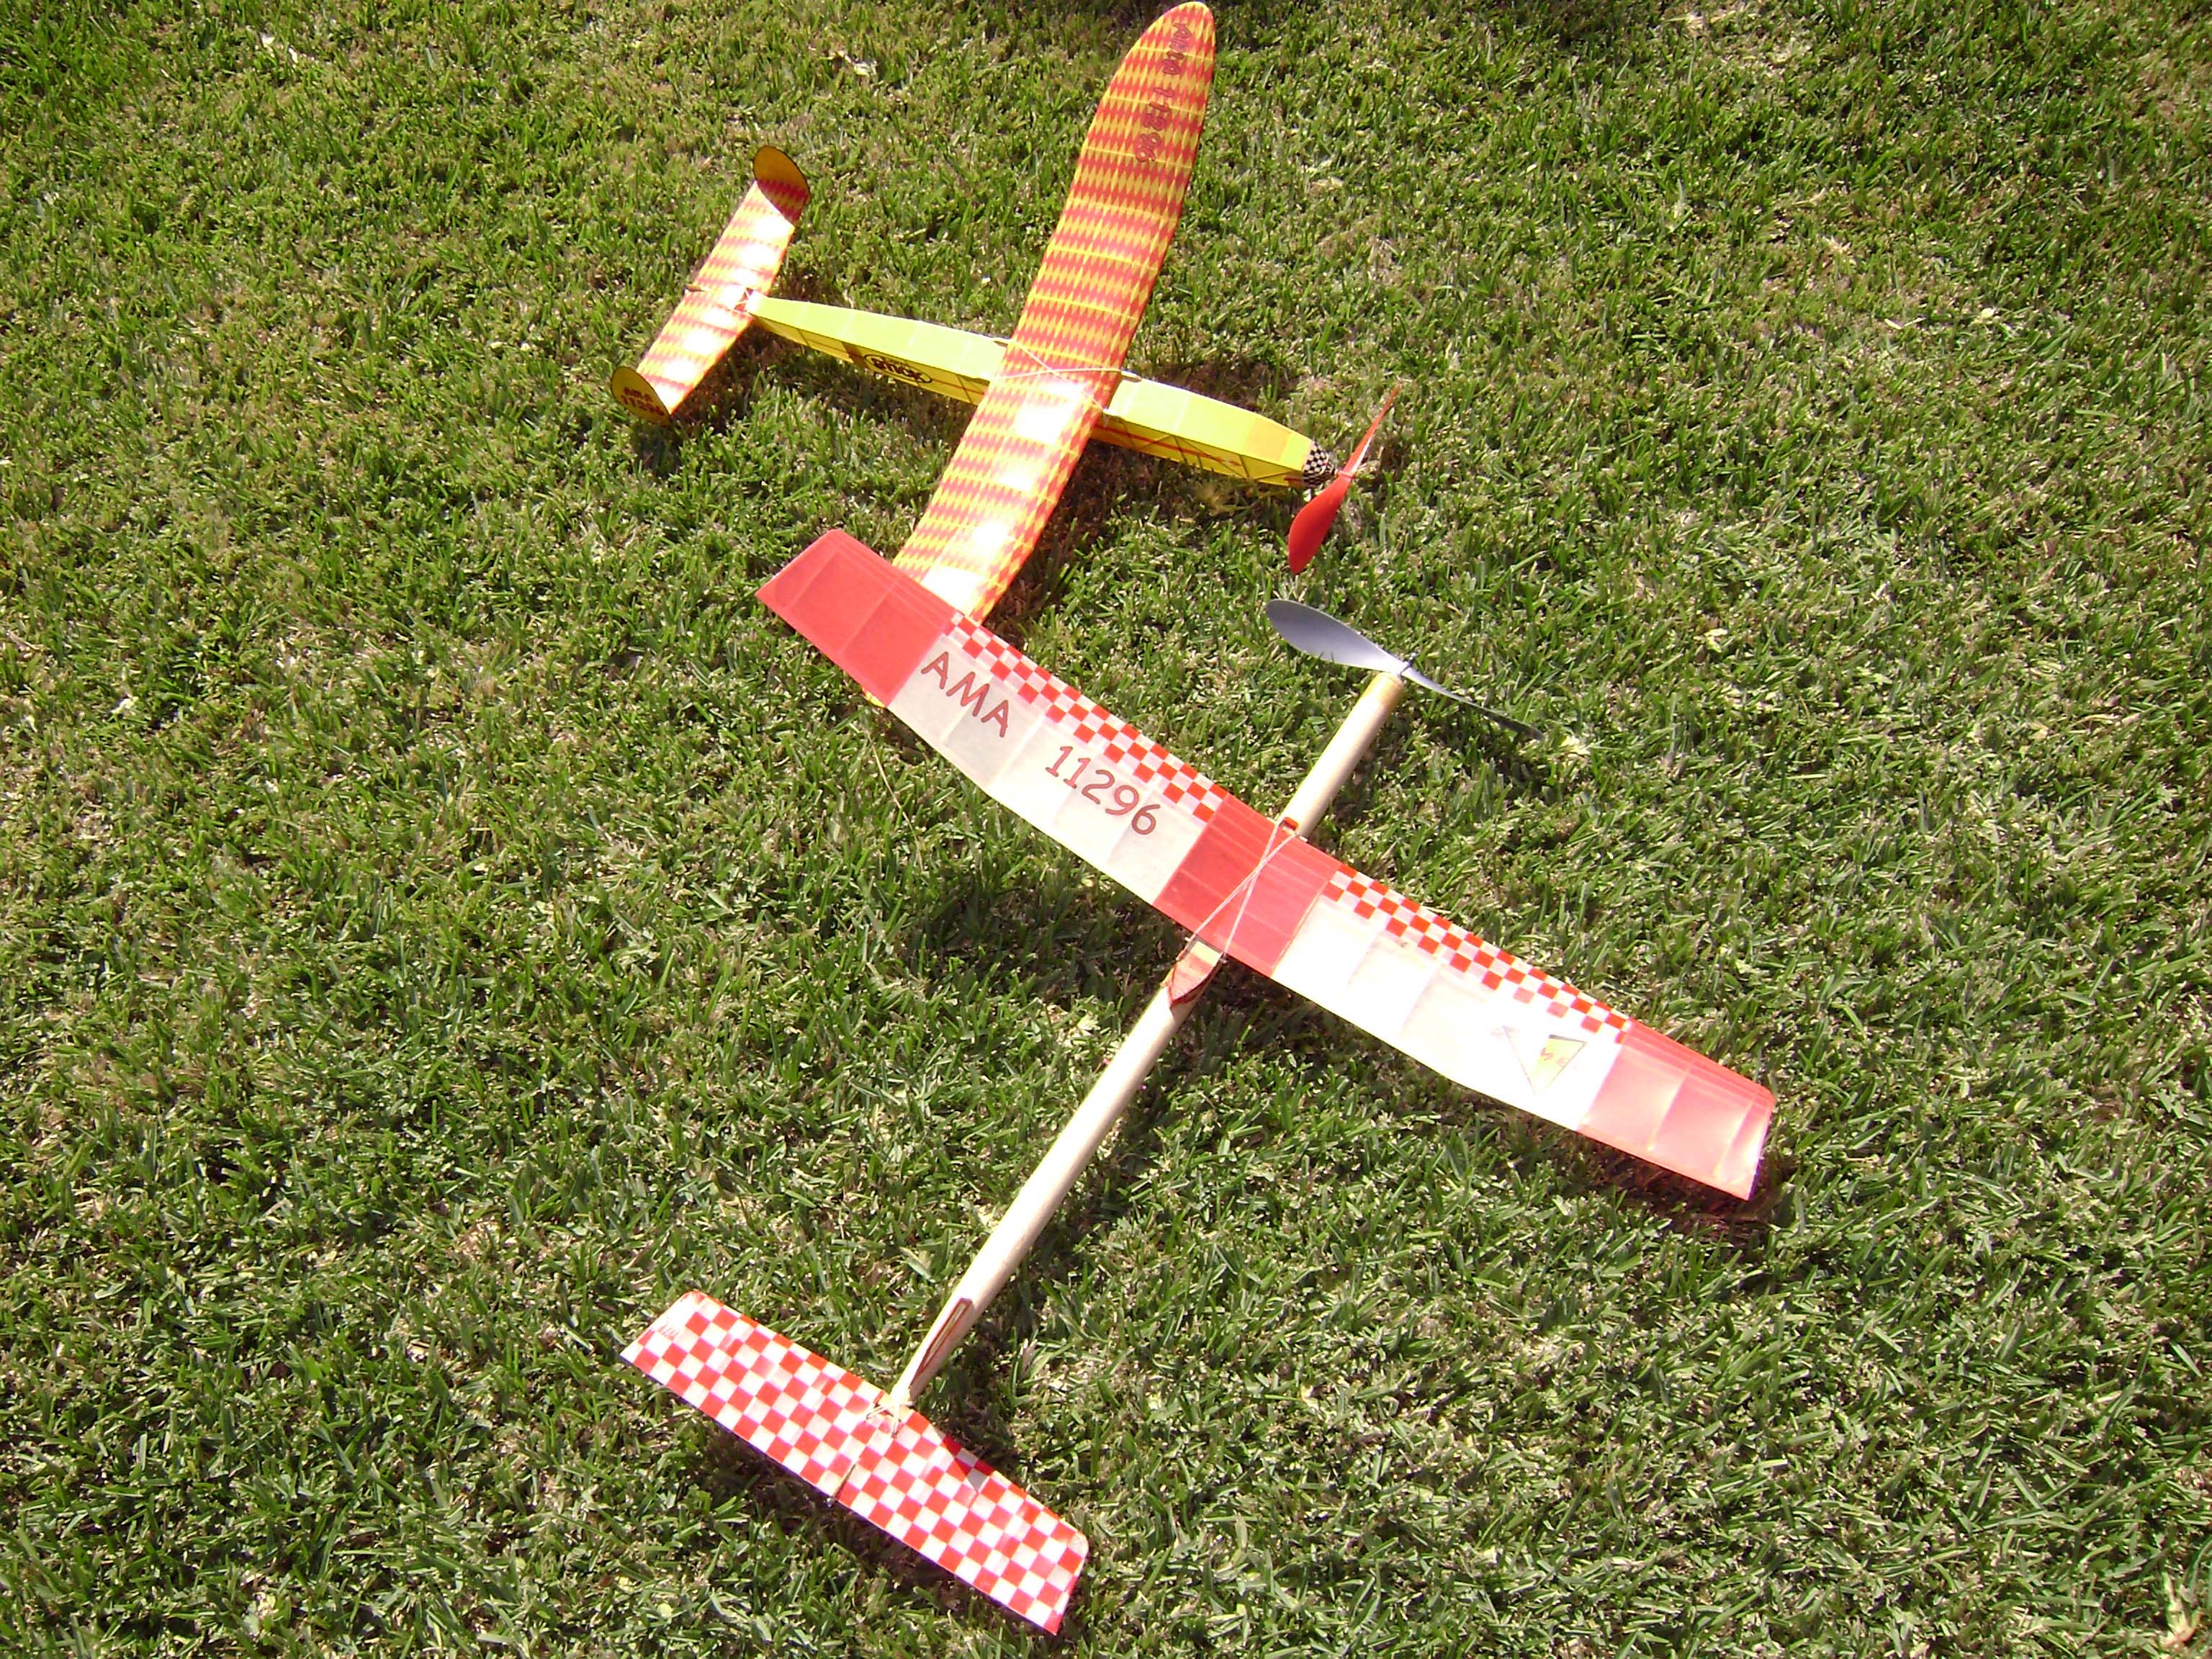
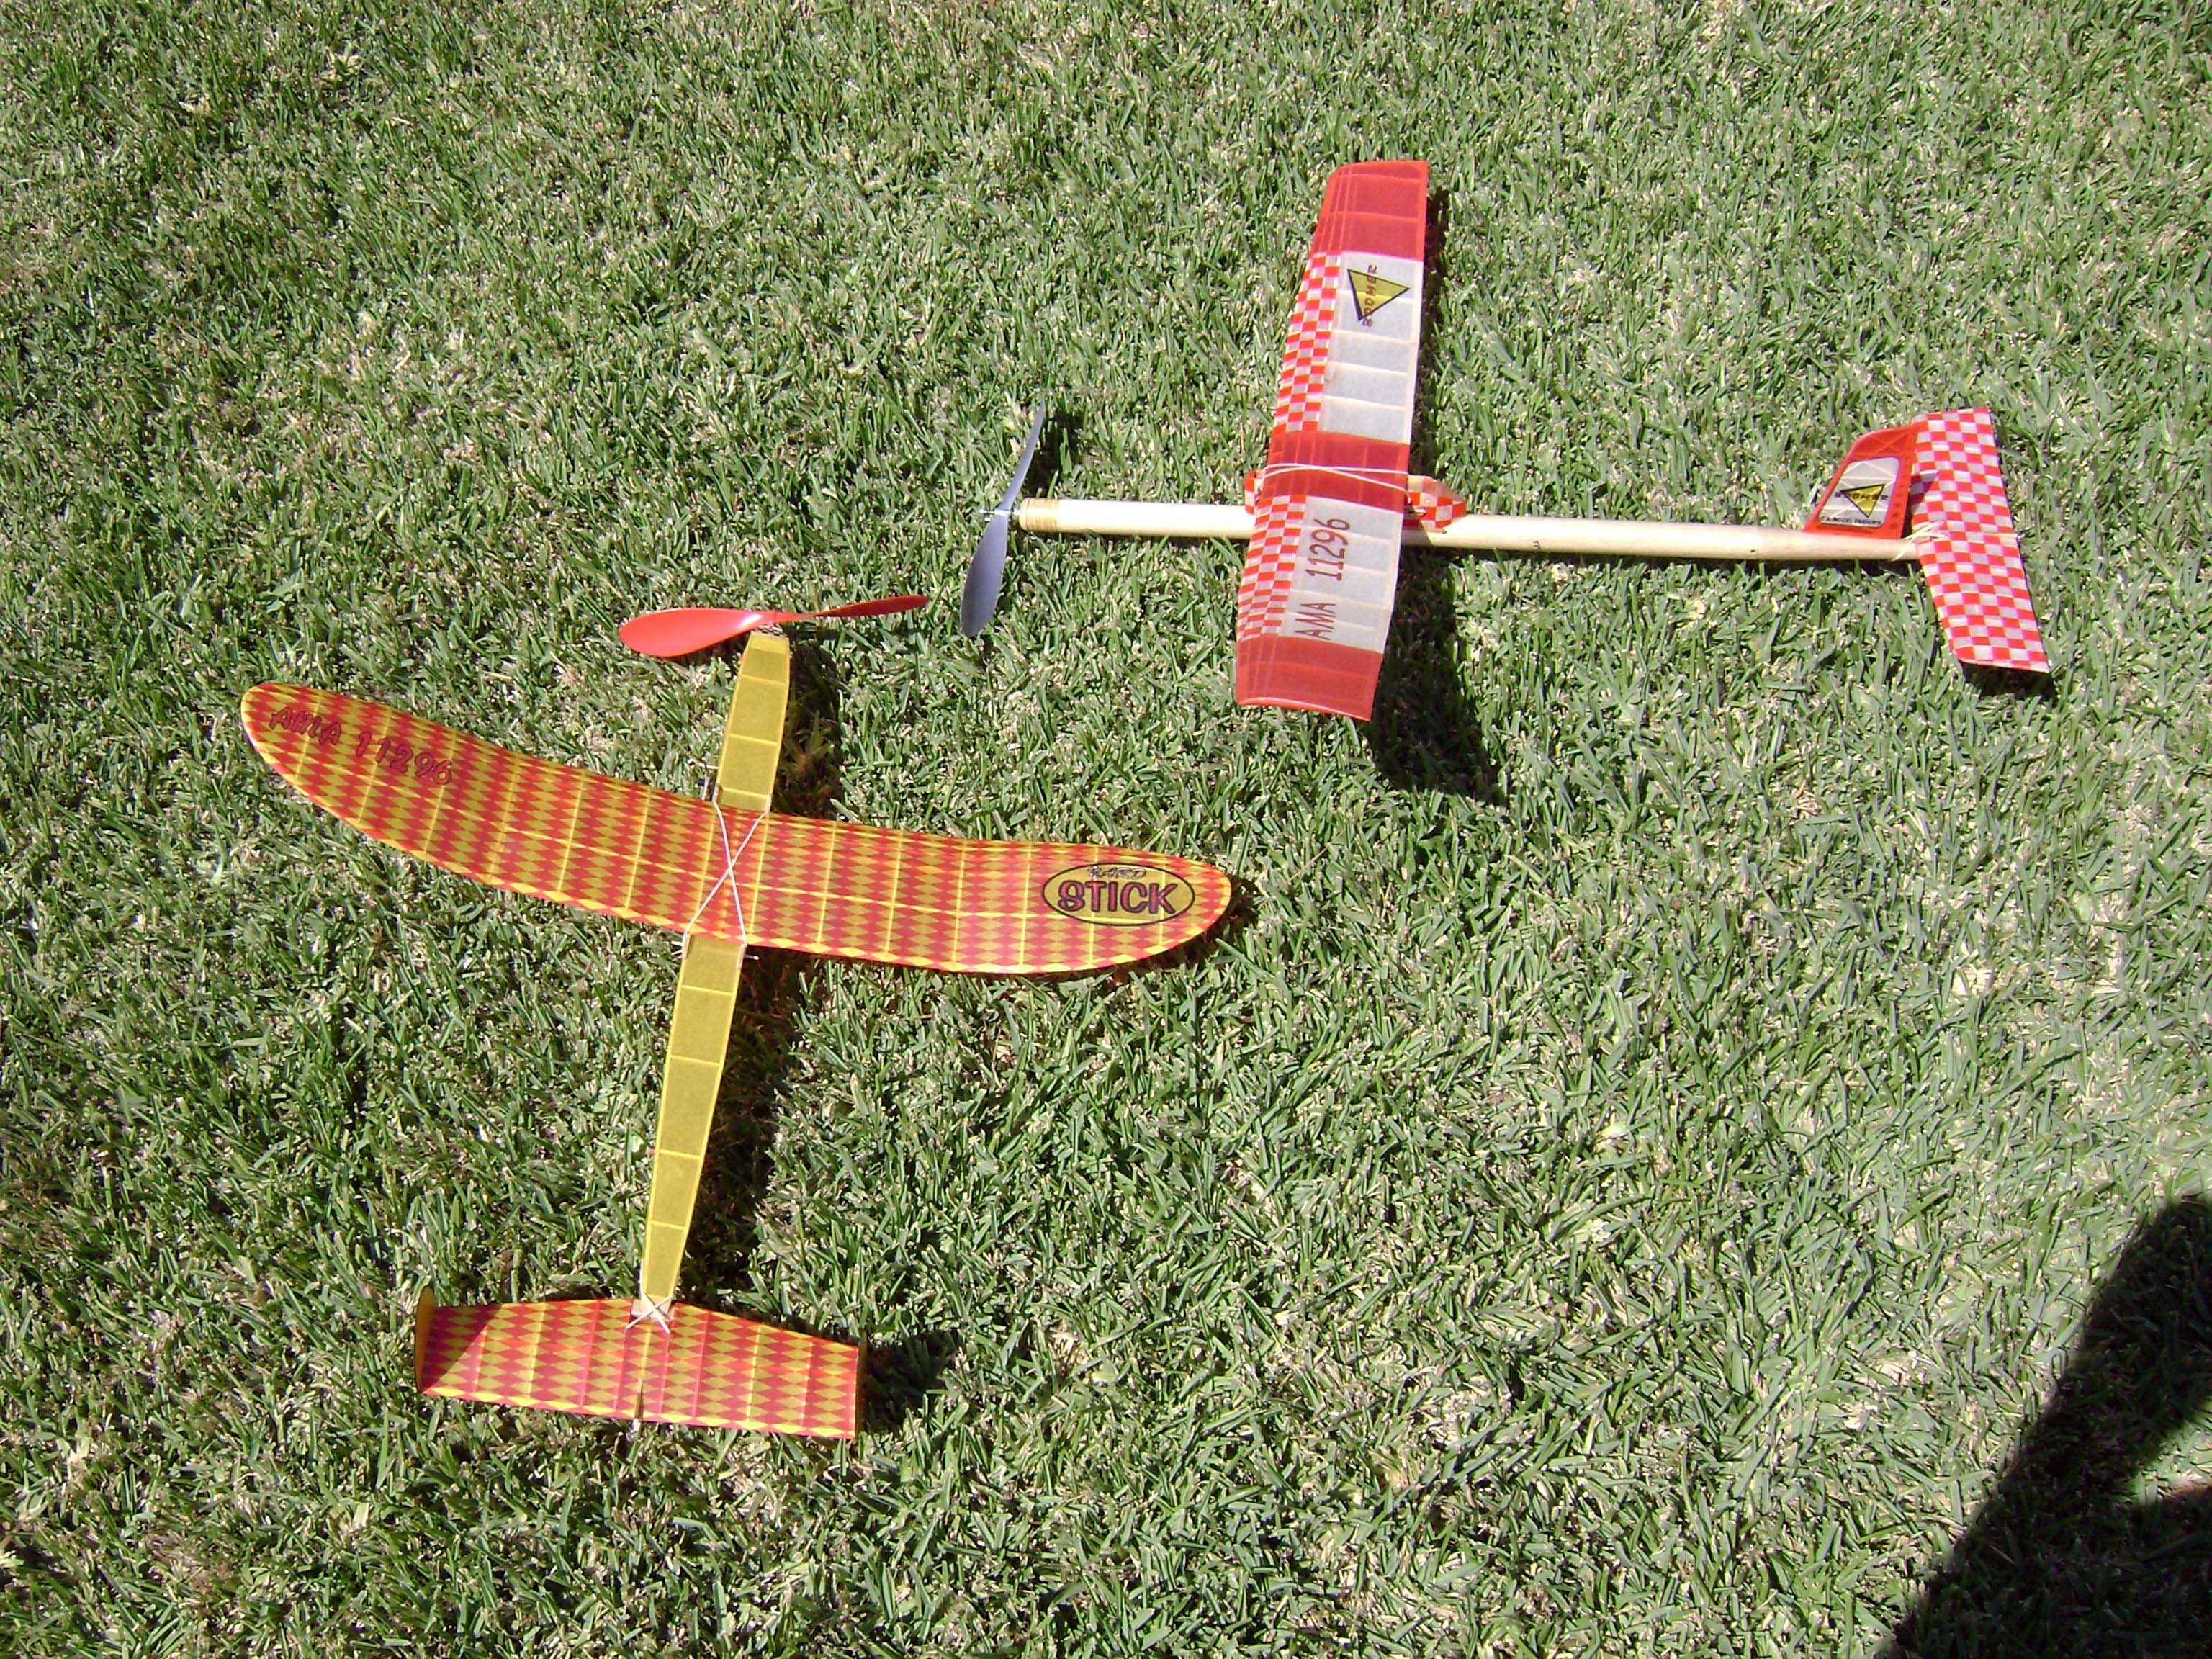
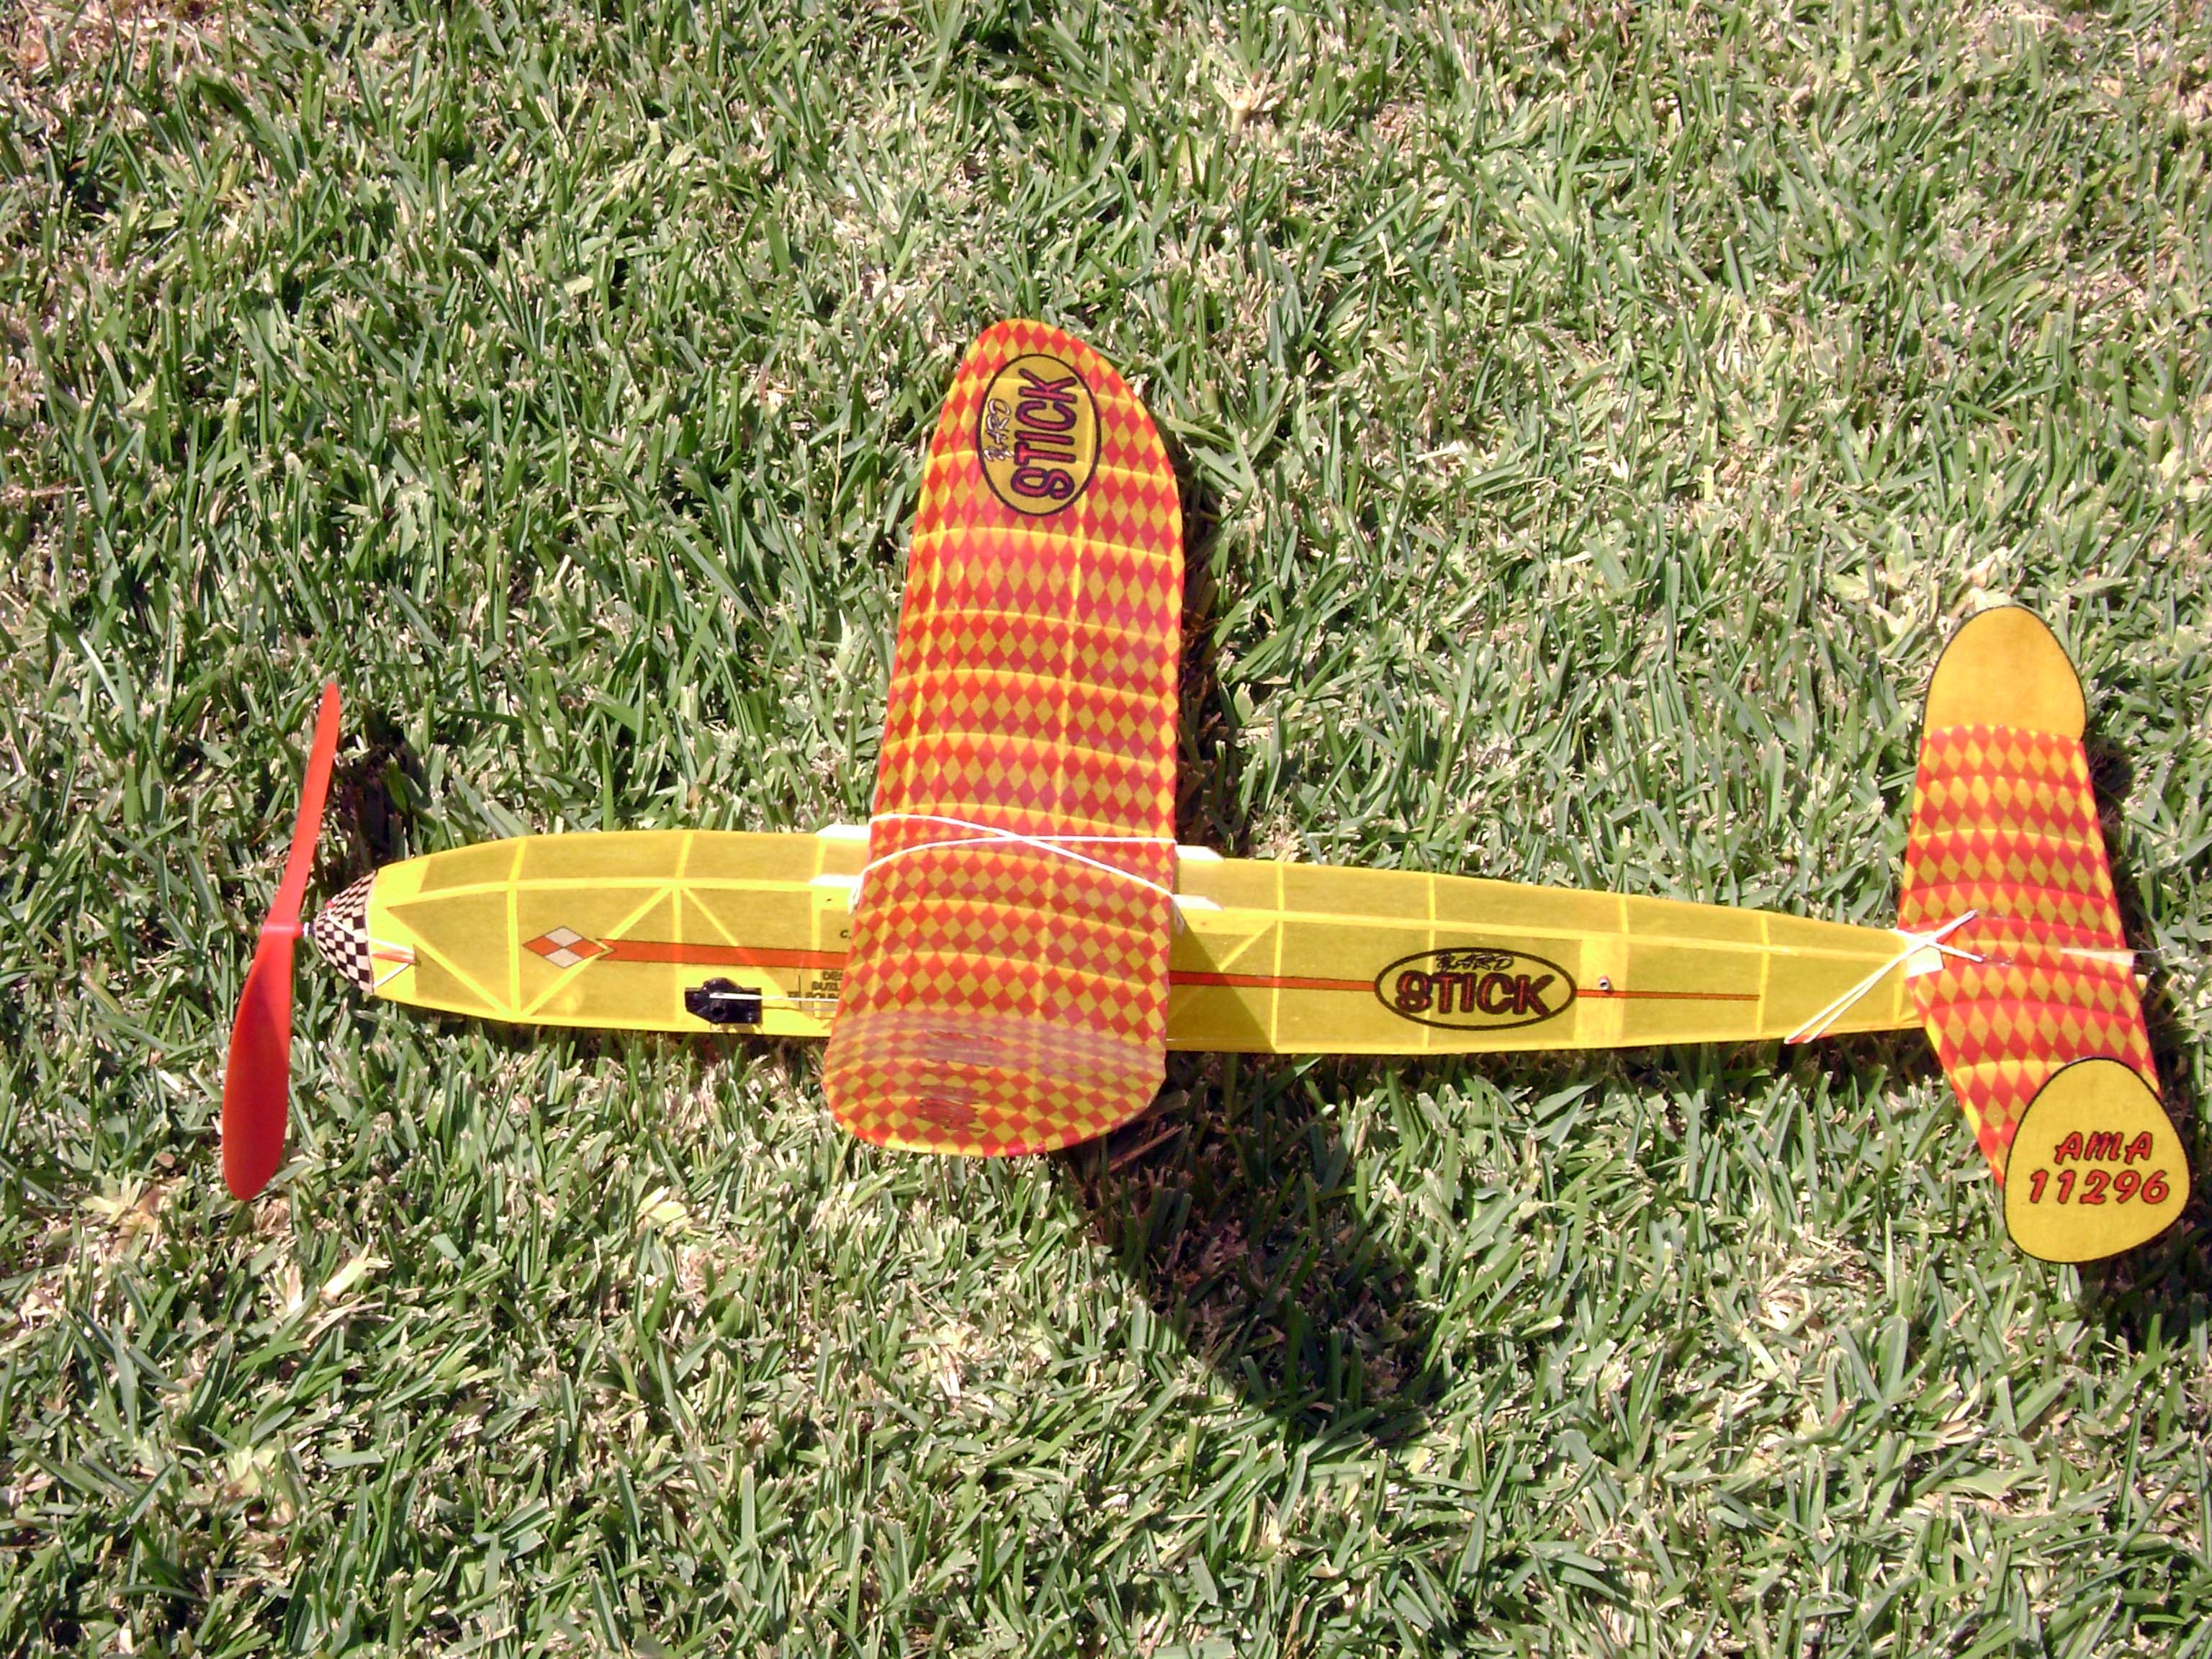
Another picture of Richard Browning's BOOMER along
side his nicely trimmed out YARDSTICK
|
|

|
Another view of Richard Browning's BOOMER and
YARDSTICK
|
|
|
Another view of Richard Browning's BOOMER and
YARDSTICK
|
|
|
via email from George Nunez:
A few words from this weekend's flying at
the Dixie Nats in Palm Bay FL (with my BOOMER) Windy, muggy
and hot weather but we decided to go anyway. Without rubber
but ready to fly plane 34g 4 strands of 3/16 10 g motor. A
little tight but after a few stretches it freewheels OK.
Test glide looks very good First flight 300 turns, goes
straight and a few deep stalls. Did not get to glide. I sand
in some down and right ( more right than down ) give it 400 turns
and it went like gang busters, it got some nice altitude
settled in a nice glide but then got some good air and it started
going up real fast. I estimate it got to more than double
the altitude when the motor run ended. I had a two minute DT
and I got it back. Almost lost it on its second
flight. People asked if it was a Sparrowhawk, heheh (not so,
it's a CB Model Designs BOOMER!).....You got a terrific performer.
Cheers,
George Nunez
|
|
|
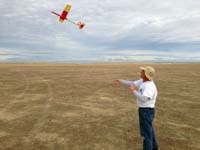
Another picture of George Nunez and his
BOOMER
|
|
|
Another picture of George Nunez and his
BOOMER
|
|

|
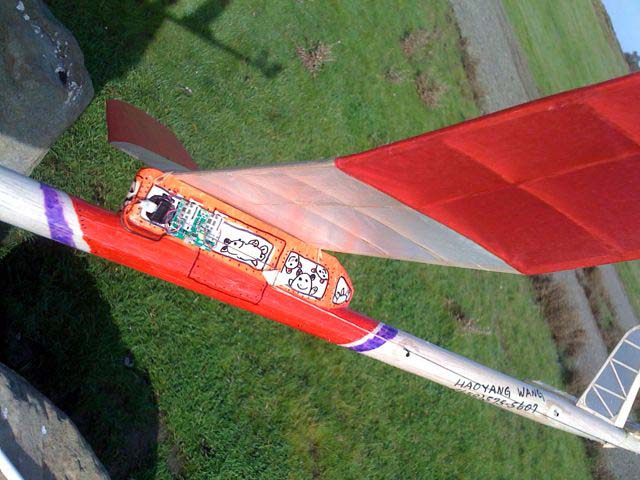
January 7, 2010 email from Haoyang Wang
My Boomer has finally had its maiden flight today, one year later. :-)
The building process was smooth and pleasant. The wing looked scarily complex but turned out to be straight and rigid -- all those little
gussets and reinforcements must have helped keeping the warps
away. During building, I kept referencing to both the rev-a and rev-b manuals, which I had downloaded from your web site. While rev-b is up to date, rev-a has some helpful pictures in it.
Covering the undercamber with tissues was frustrating. I had to constantly reassure myself that the plane would fly so high that nobody would see the wrinkles.
Indeed the Boomer flew high today. The final flight (with 1000 turns in the rubber motor) lasts about 2 minutes. Now it is a matter of trimming and trimming...
I had some previous experiences with the button timer from A2Z Corp (Peck-Polymers, Sting Aero, etc.), but could never get it work predictably, so this time, as shown in the attached picture, I use a ParkZone Vapor brick for DT. The radio seems to have a good range while the plane is in the air, but there was one time, after the plane had landed, the receiver lost signal, fail-safe kicked in, popped the DT. (Well, at least I got the assurance that fail-safe worked.) The 1-cell lipo battery lasted the whole morning
Thank you for having designed such a great flier. Wow.
|
|
 |
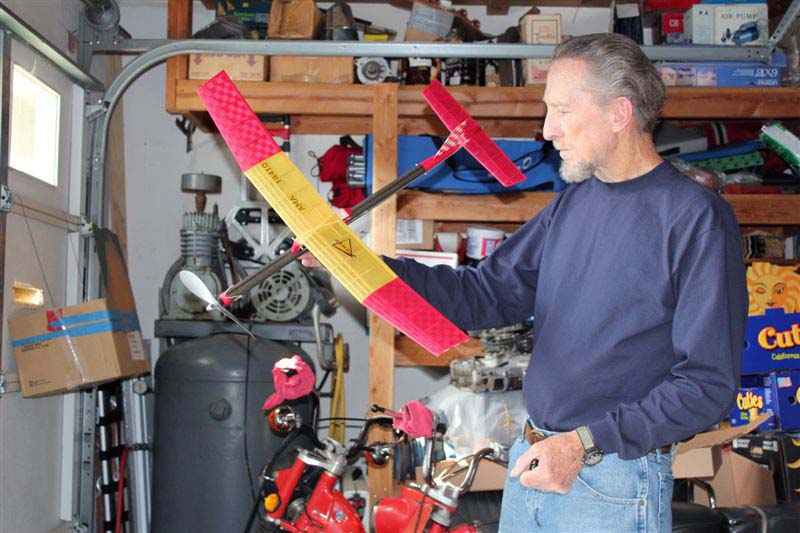
via email from Gary Acord:
I finally finished (my Boomer II). It went
together very well. It's the nicest, most complete kit I've ever
seen. I built it according to plan with a Gizmo-Geezer My first
trim flight last Sunday at the Grassy Knoll was 45 seconds on 300
hand wound turns. It's the best first flight ever for me!
It's a great design, I couldn't be happier
with it.
Gary Acord
|

 |
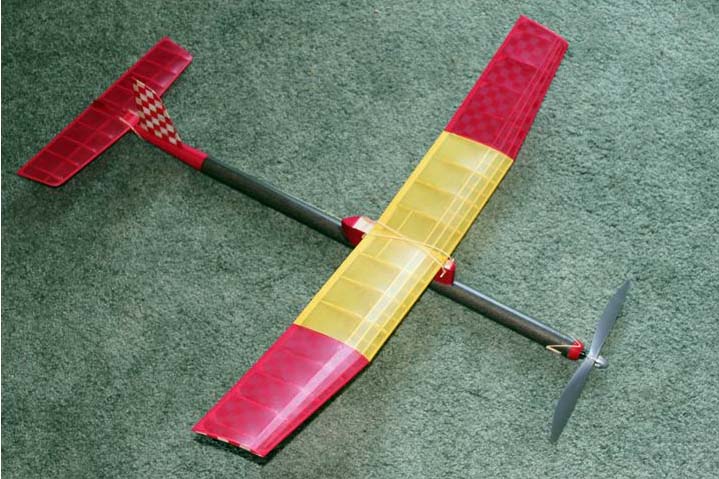
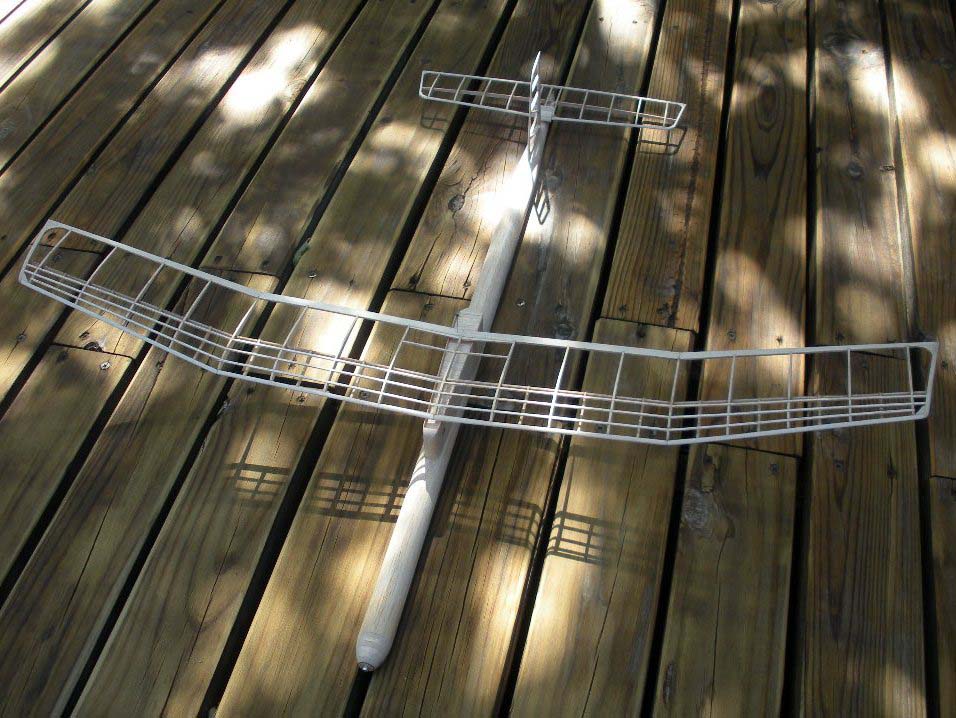
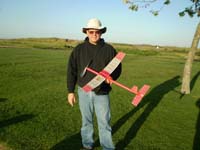
Rich Adams built this boomer shown in bare bones and ready to fly
at the field. Rich is a noted FAC modeler
from Texas.
|
 |
Steve Spence built this bright film covered
BOOMER
|
|
 |
Rich Hilliard built this BOOMER, photo taken
at the dog park in Costa Mesa Rich's model flew away on it's 4th
flight
|
|
 |
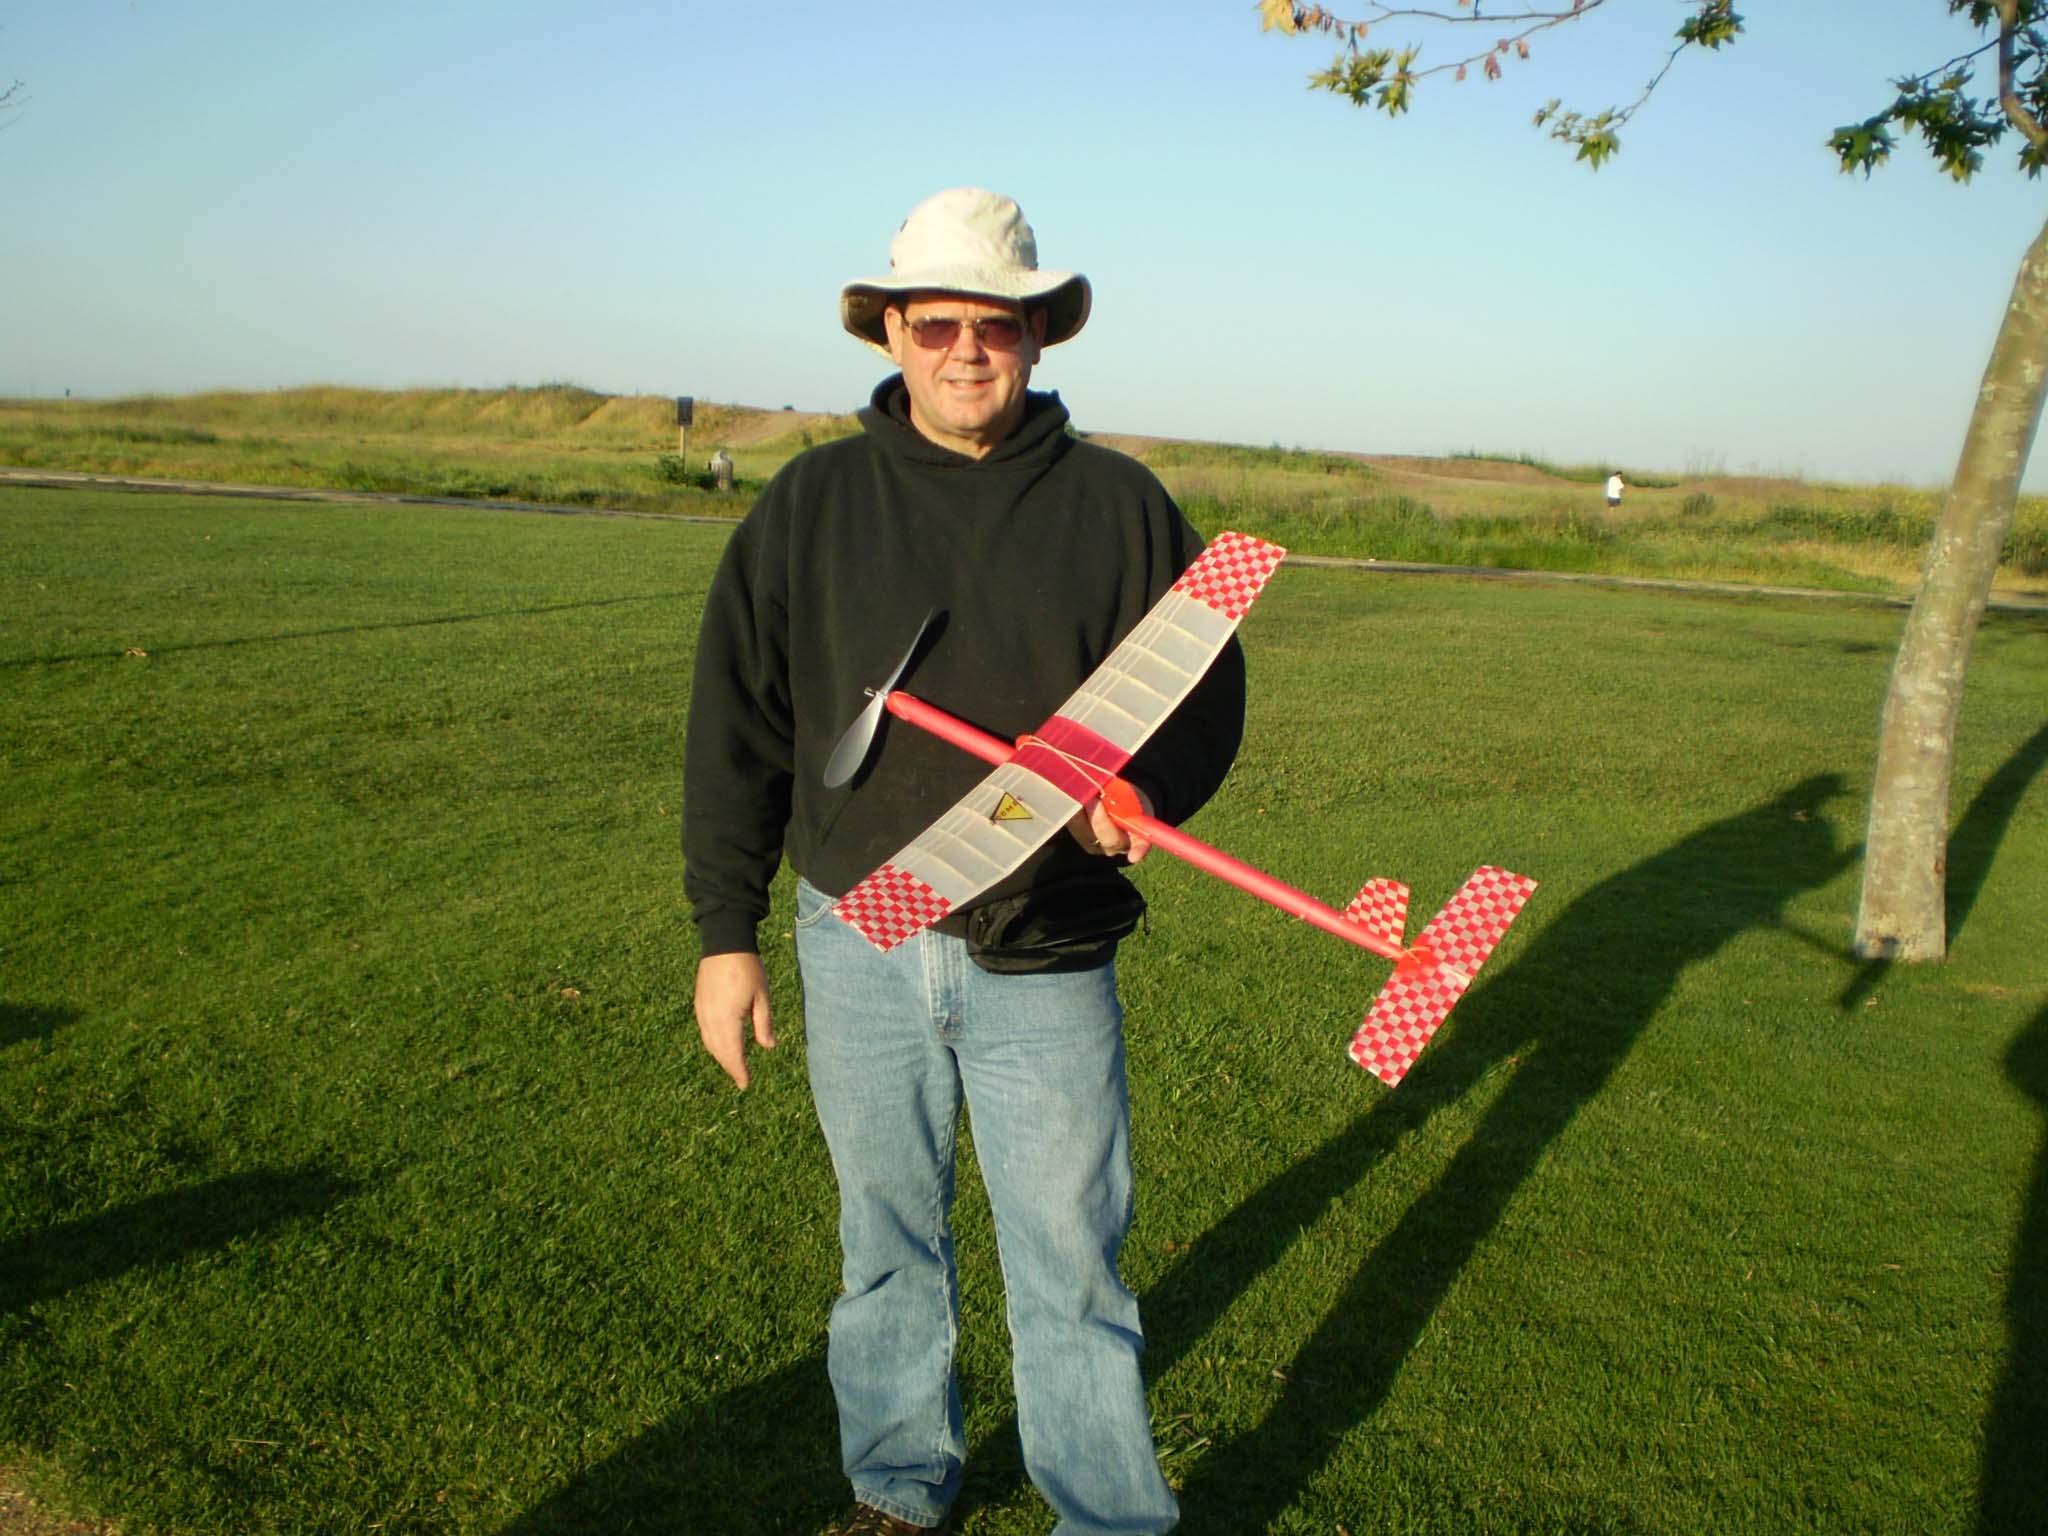
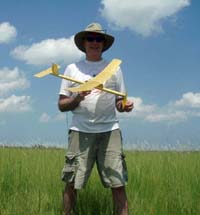
This is Randy Wrisley with the second BOOMER kit sold. The
picture was a cool morning at the dog park in Costa Mesa.
|
|

 |
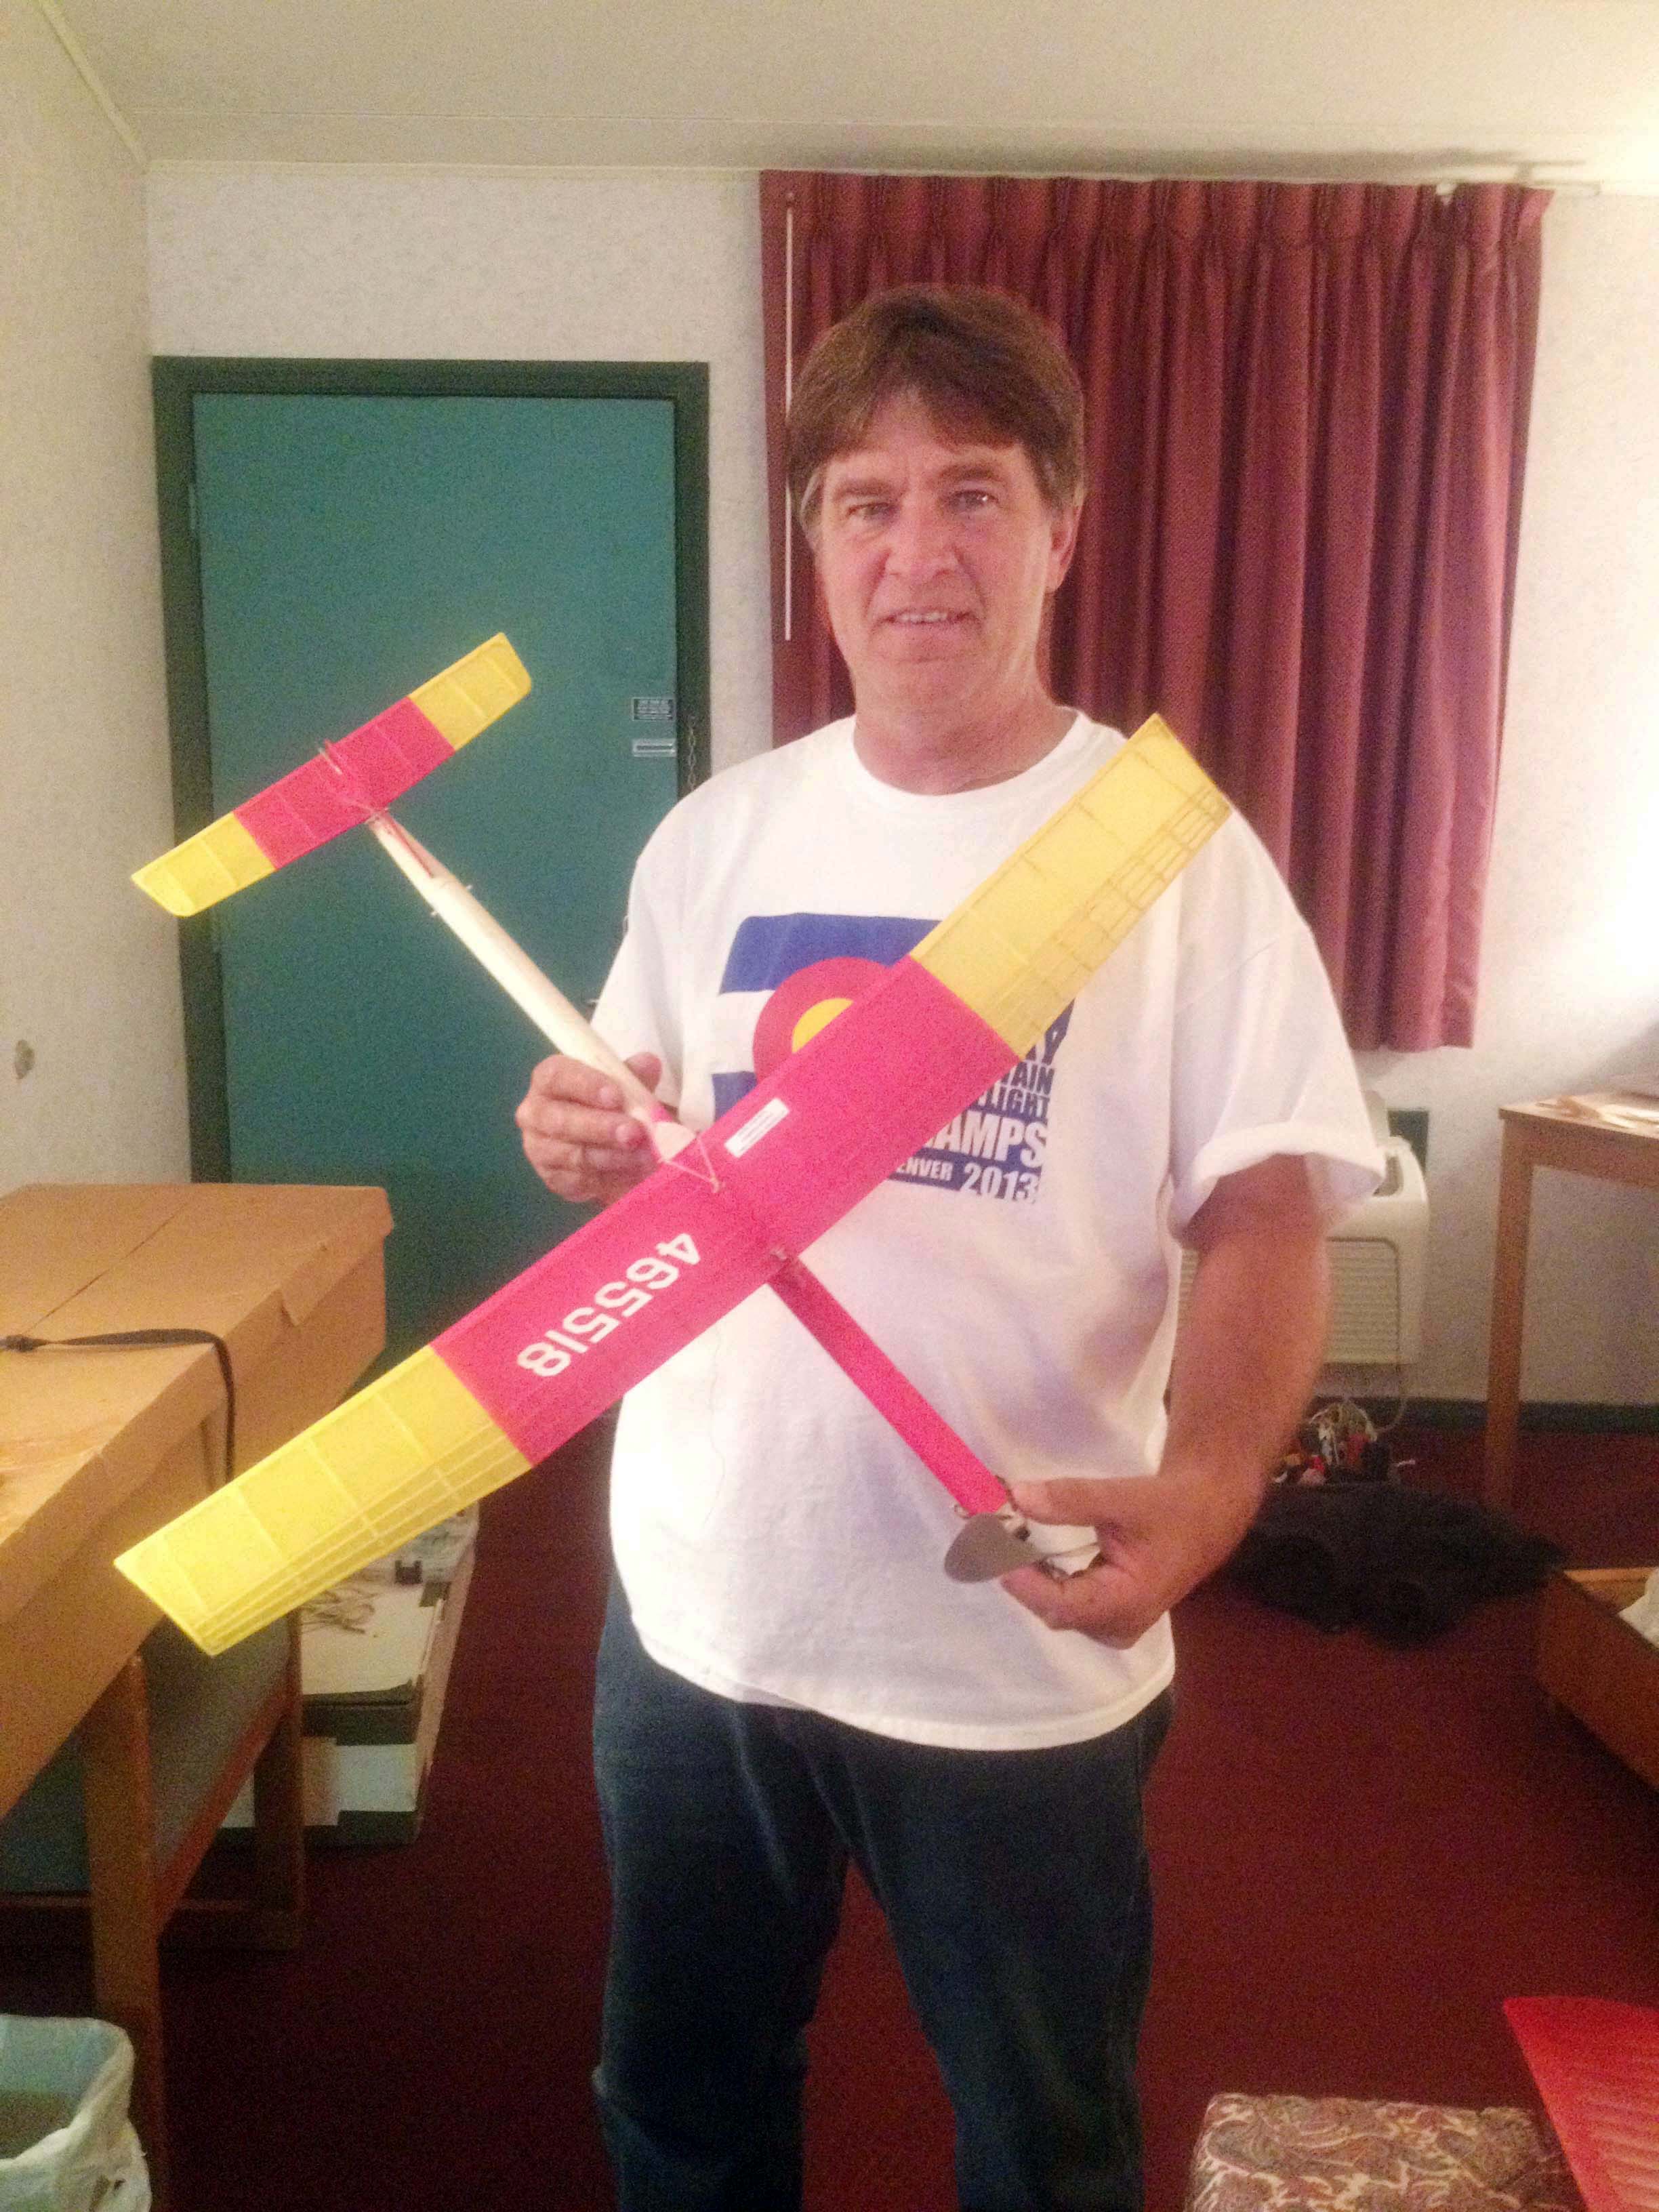
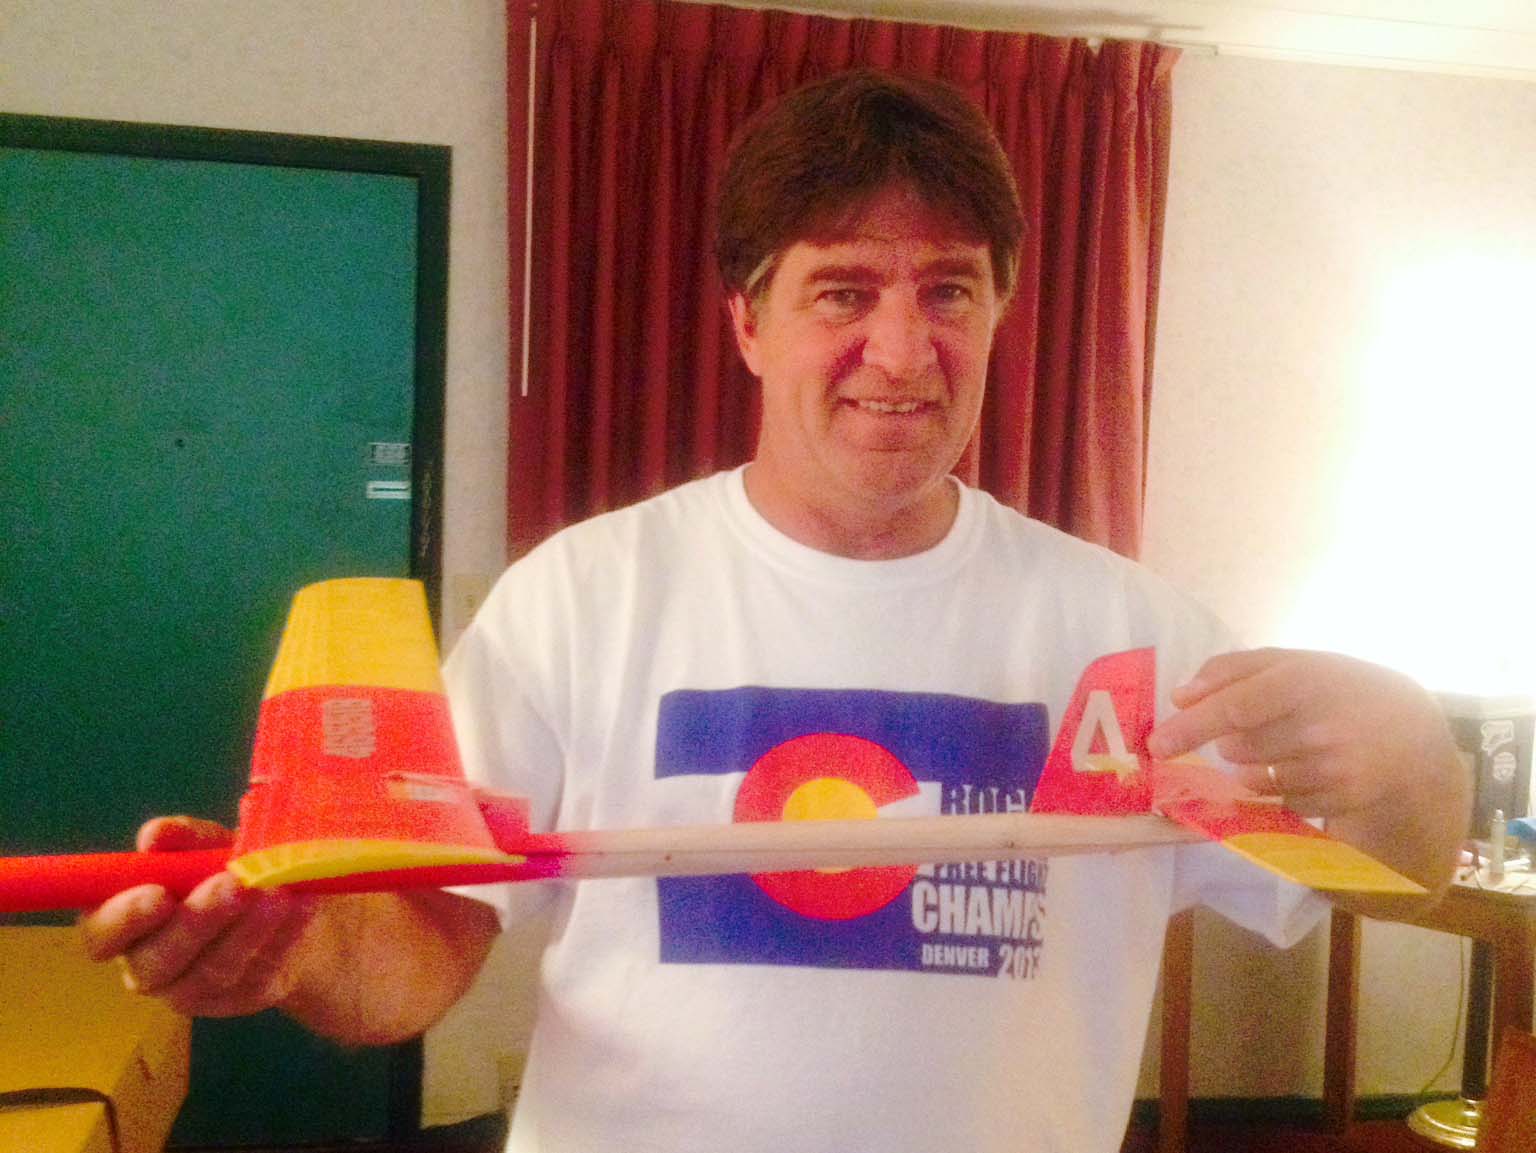
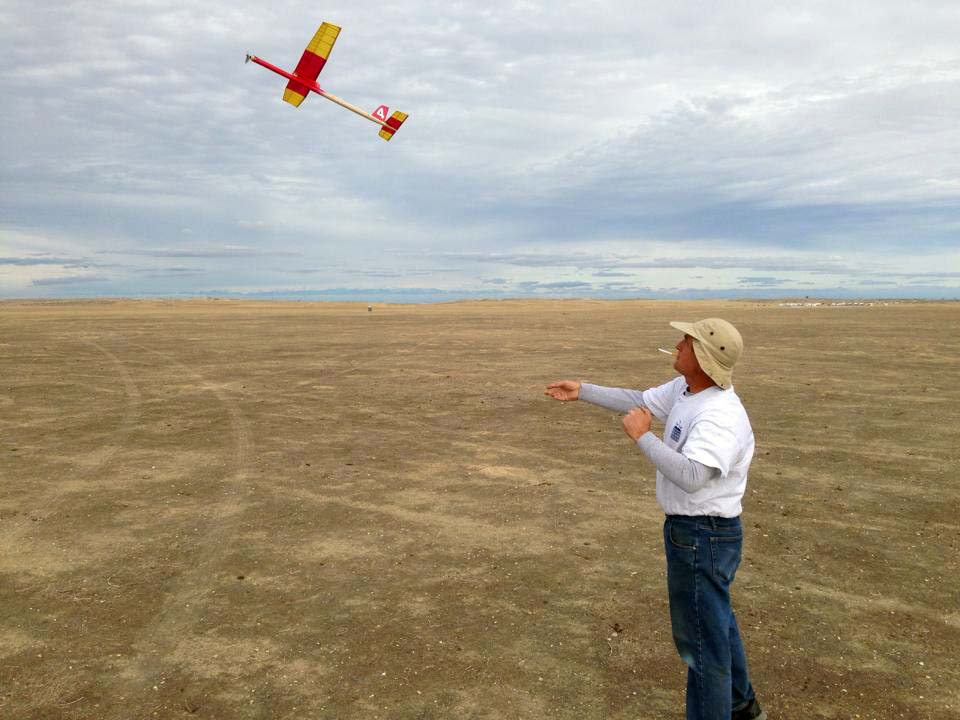
Chuck Powell smiles with his 4th BOOMER
Chuck says: " I'm on my 4th boomer, the first one lasted 2 1/2
years , then lost it and built another one in 5 days for a contest
in Oklahoma, trimmed it out at the contest and the first official
flight lost it in a bean field. So I built another one for the
Denver contest a couple weeks later , trimmed it at the contest and
put a retrieval transmitter on it thinking "I ain't gonna loose this
one" (NOT). But U lost it dt,d at 3 minutes landed at 5
minutes, I thought "no biggy: I have a transmitter in it, but then I
couldn't get a signal ? So now I'm on my 4rth one, the Mk 3, so far
I've made it through one contest sp far"
The 3rd shot is Chuck launching his #4 at the Ike in February of
2014 at Lost Hills
|
|
. |
Please share your photos of our
models by emailing them to
us. |